Home
About
NFW | NFFF
NFFF Recipients
NFFF Recipient Experiences
NFF Awards
News
Photos
Contact
Contact
Sponsorships
Home
About
NFW | NFFF
NFFF Recipients
NFFF Recipient Experiences
NFF Awards
News
Photos
Contact
Contact
Sponsorships
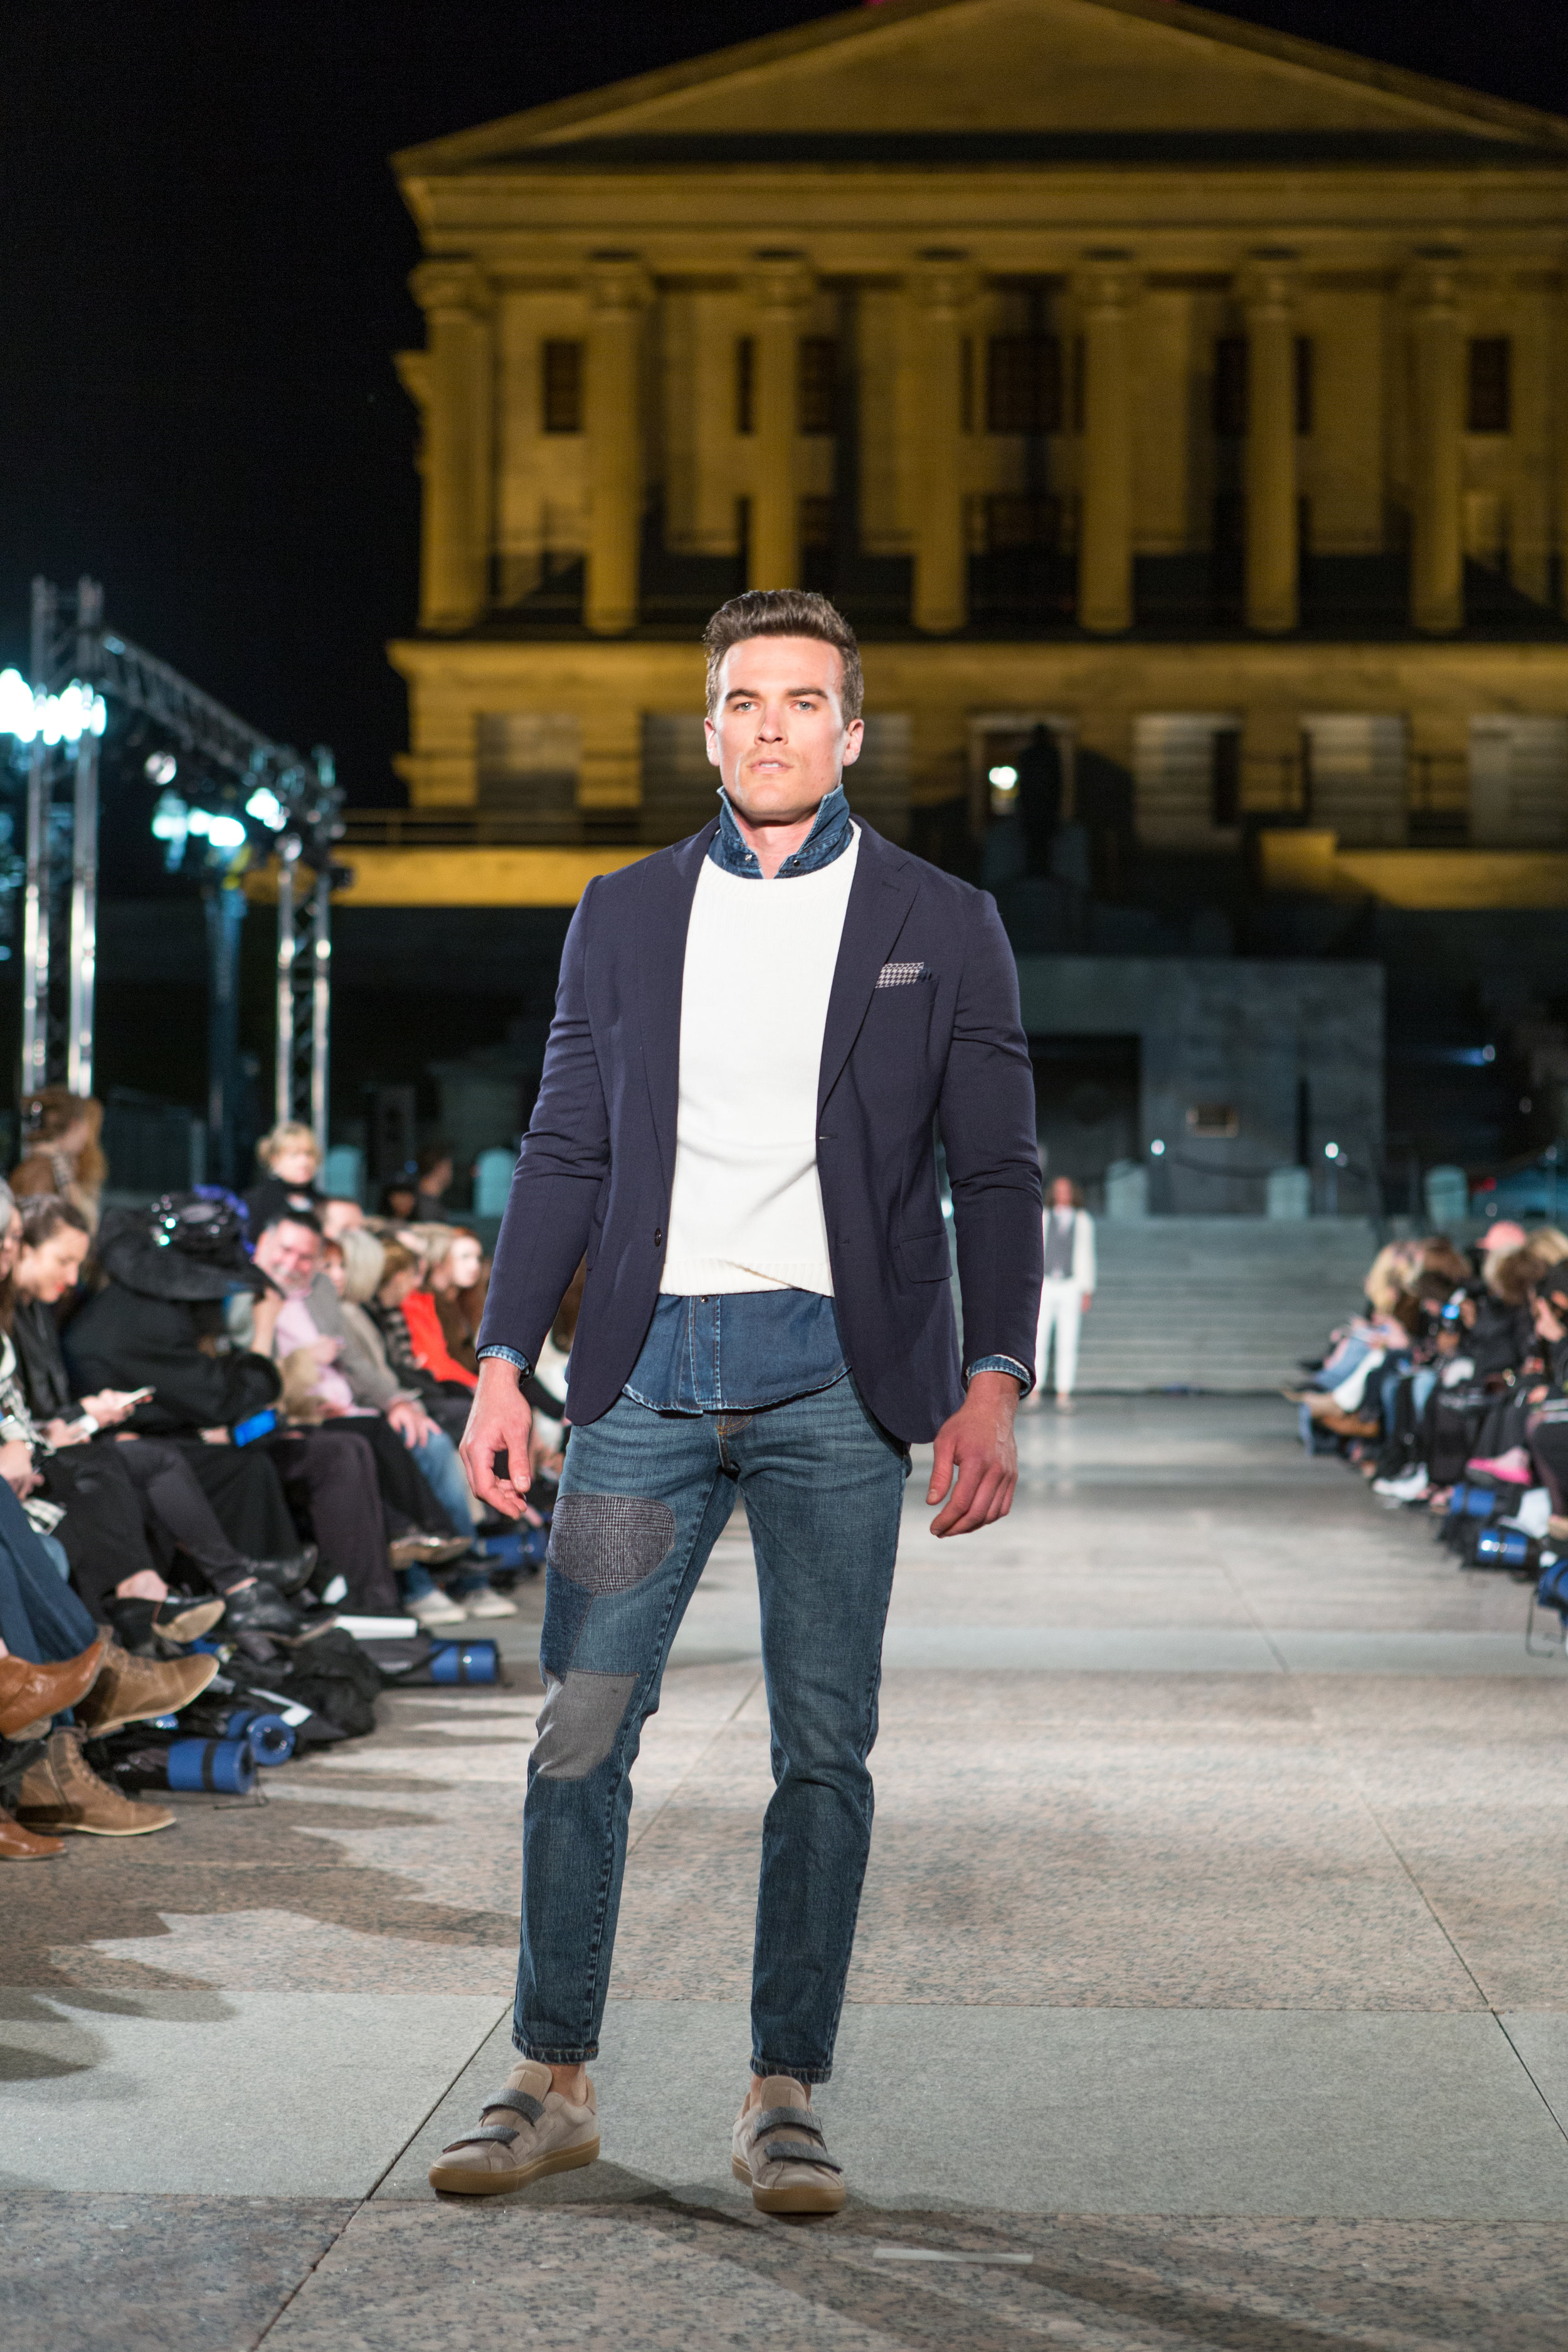
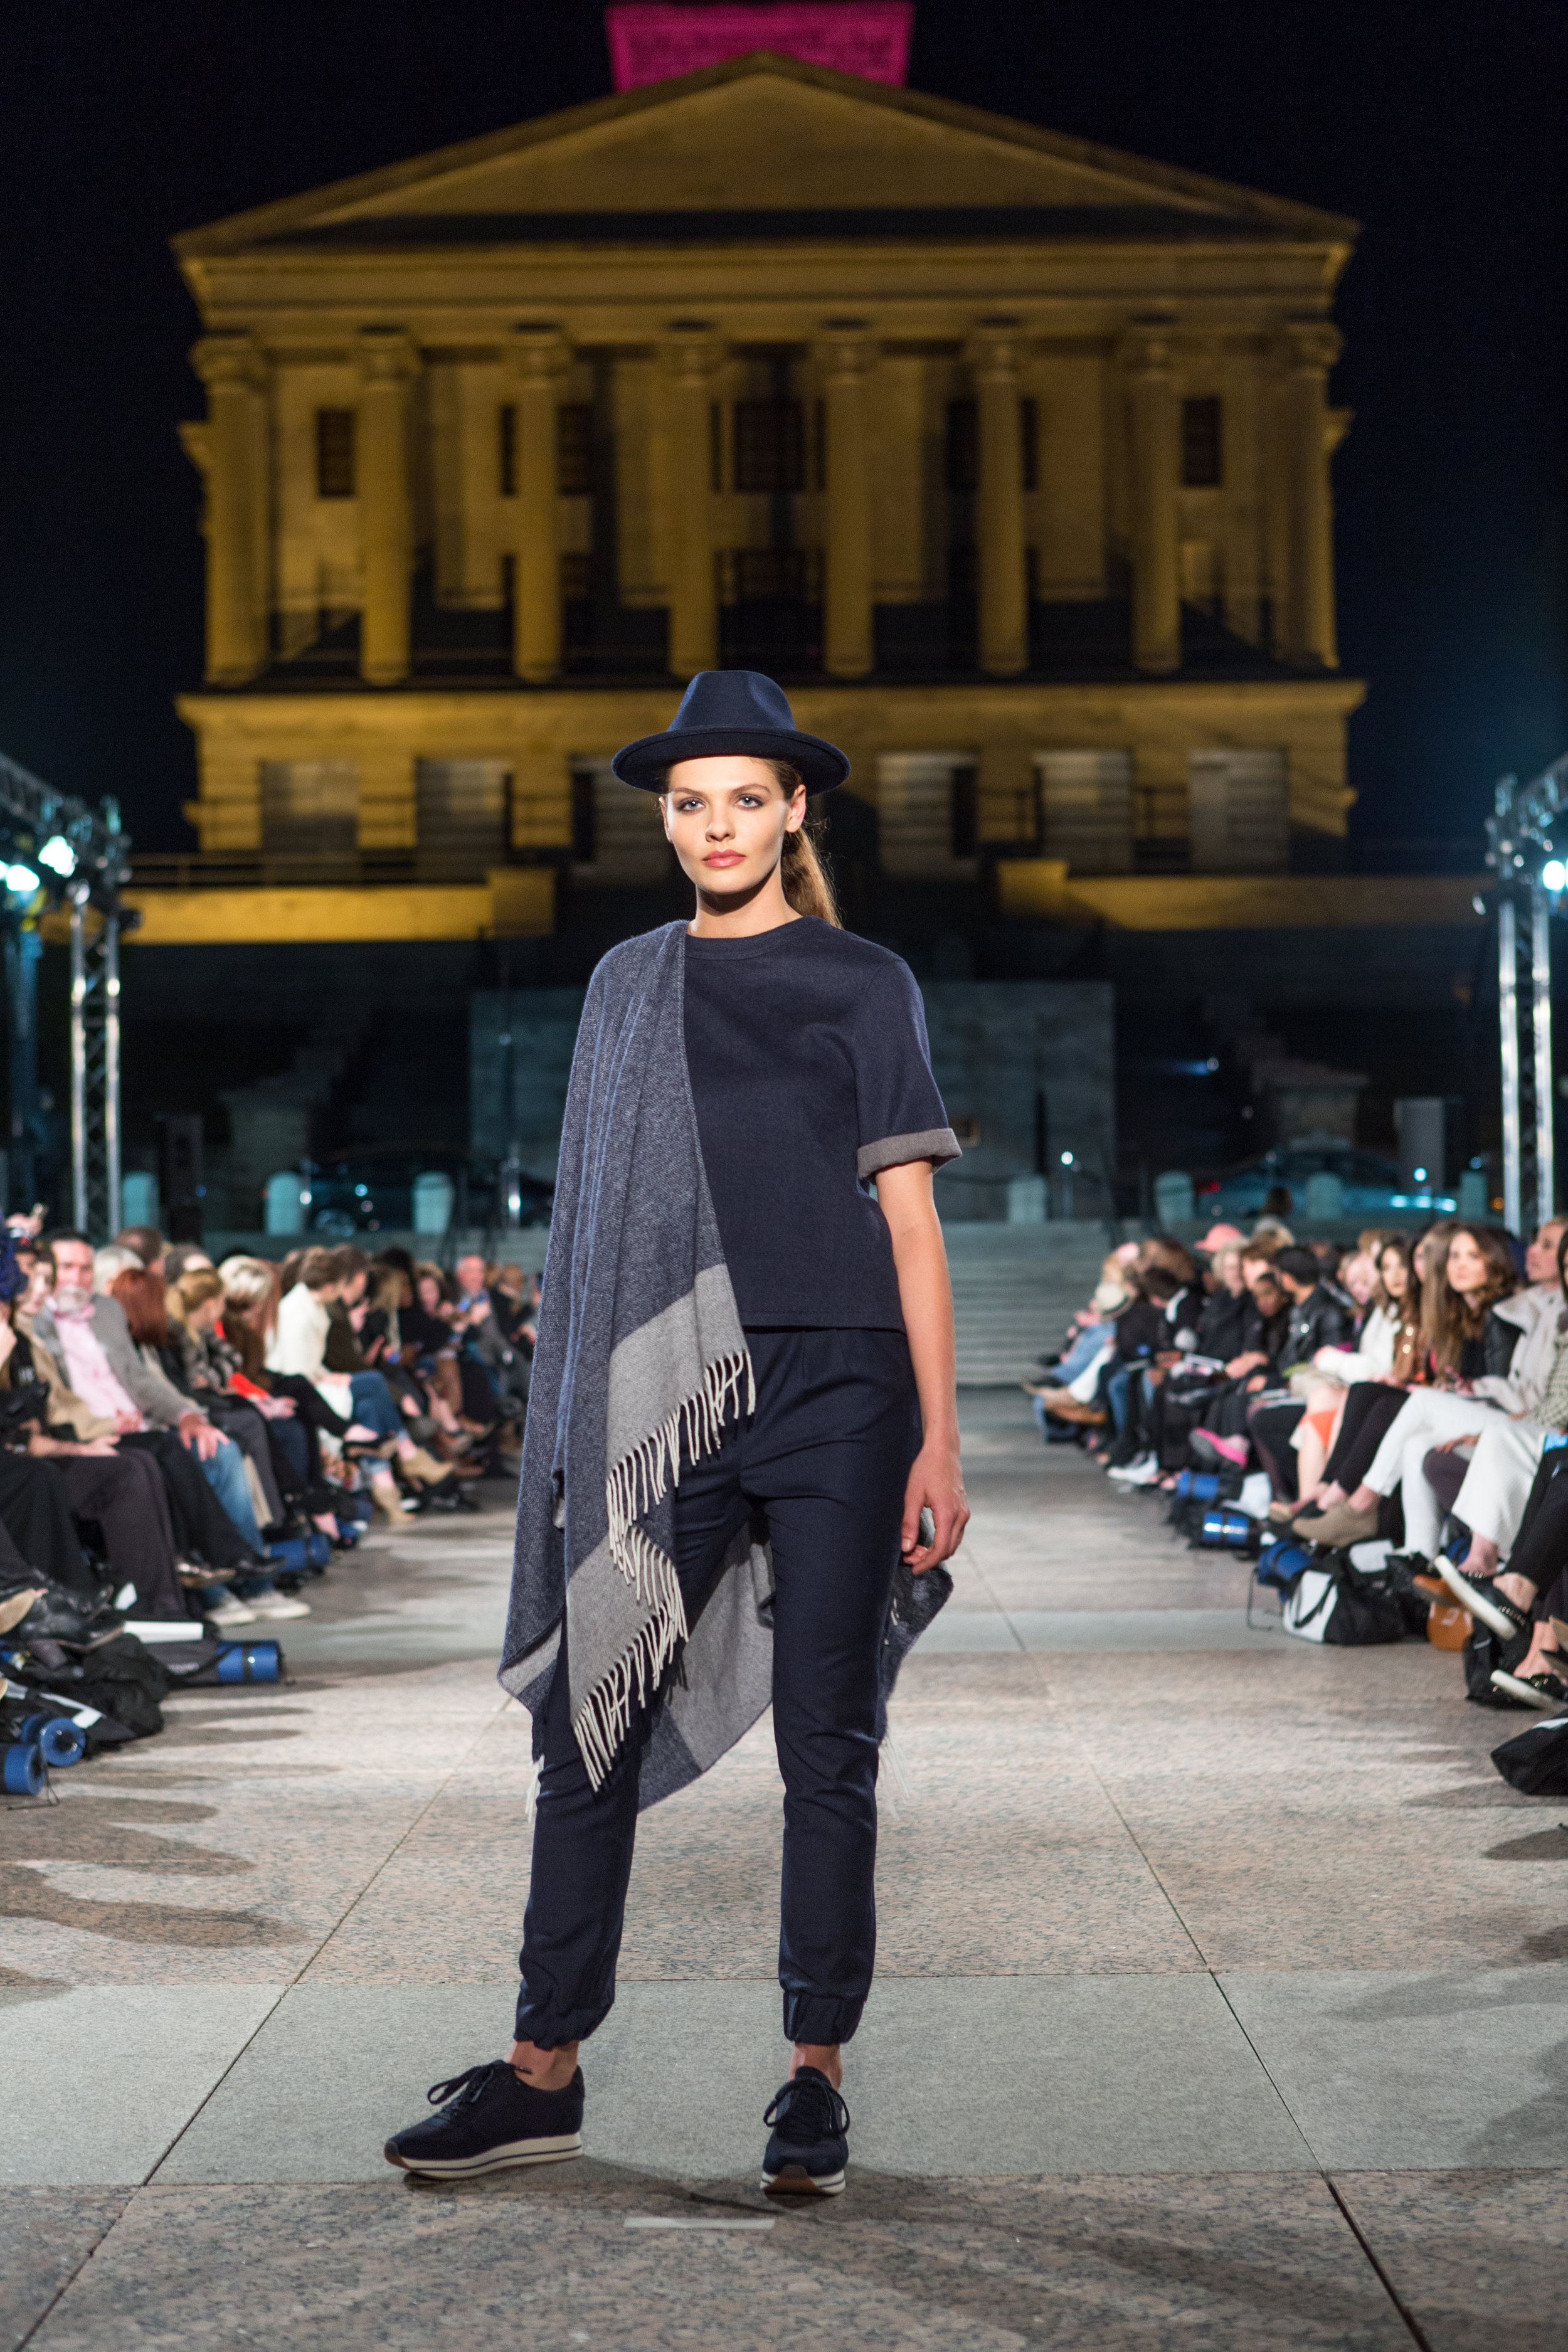
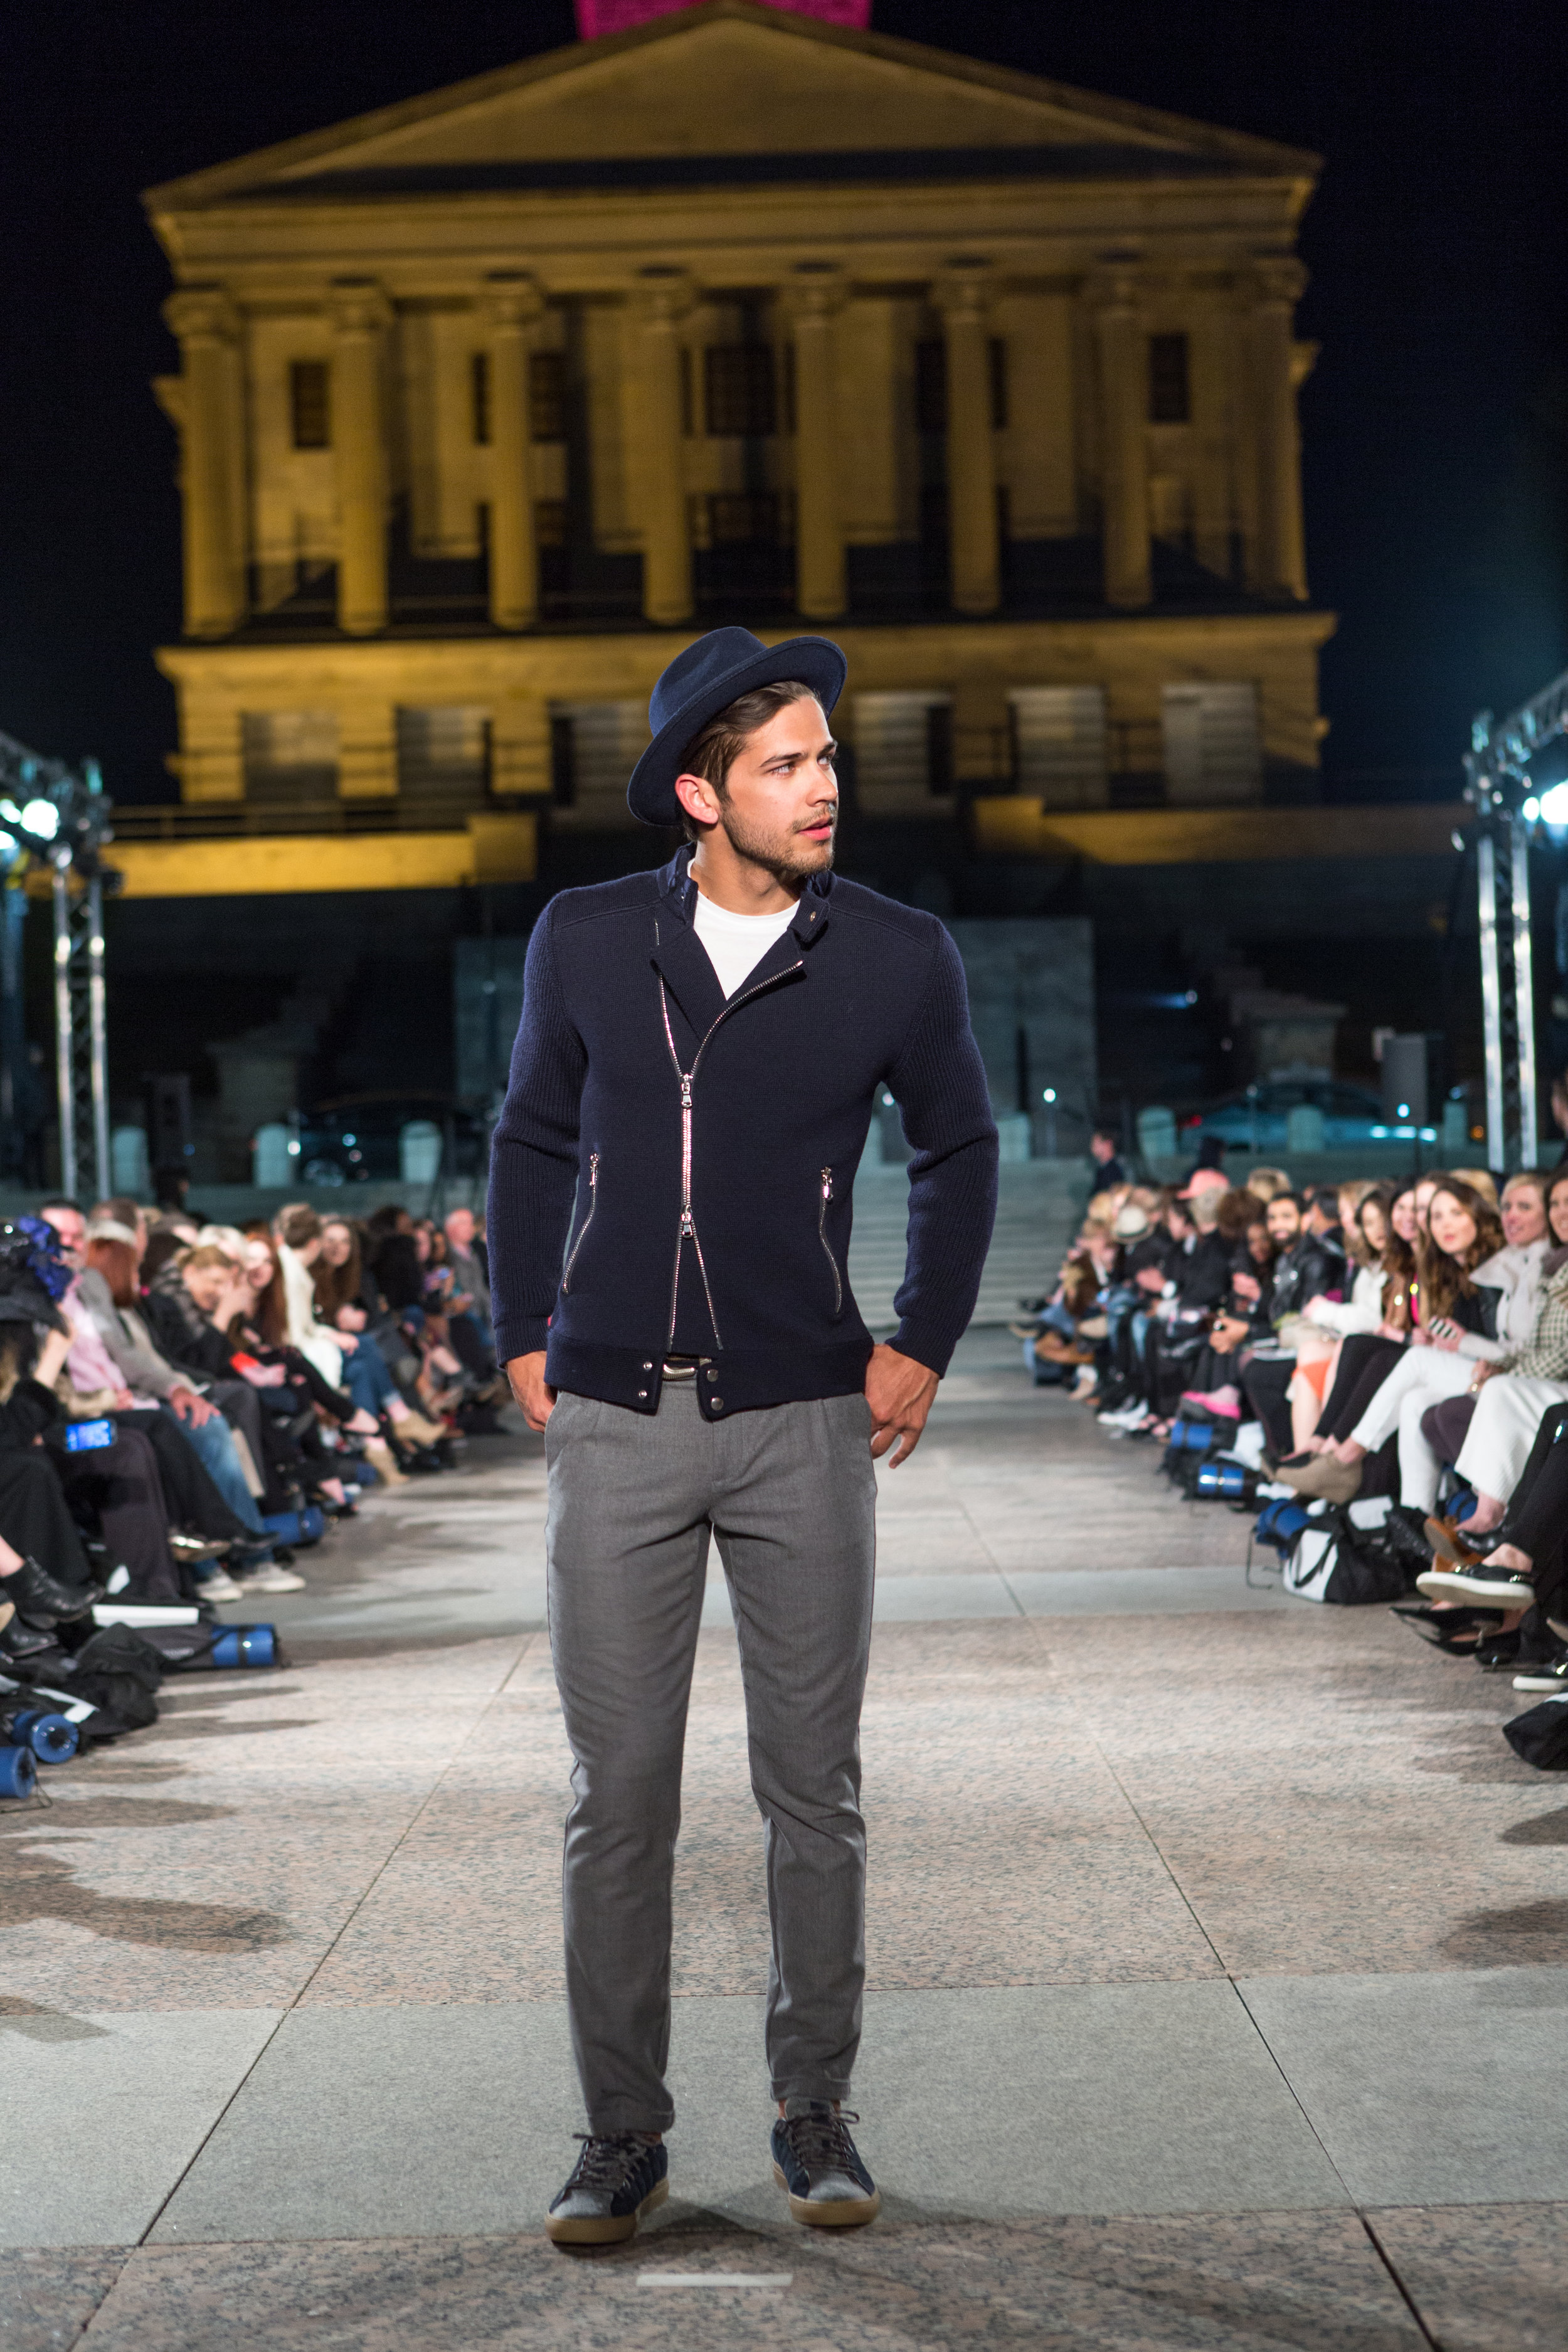
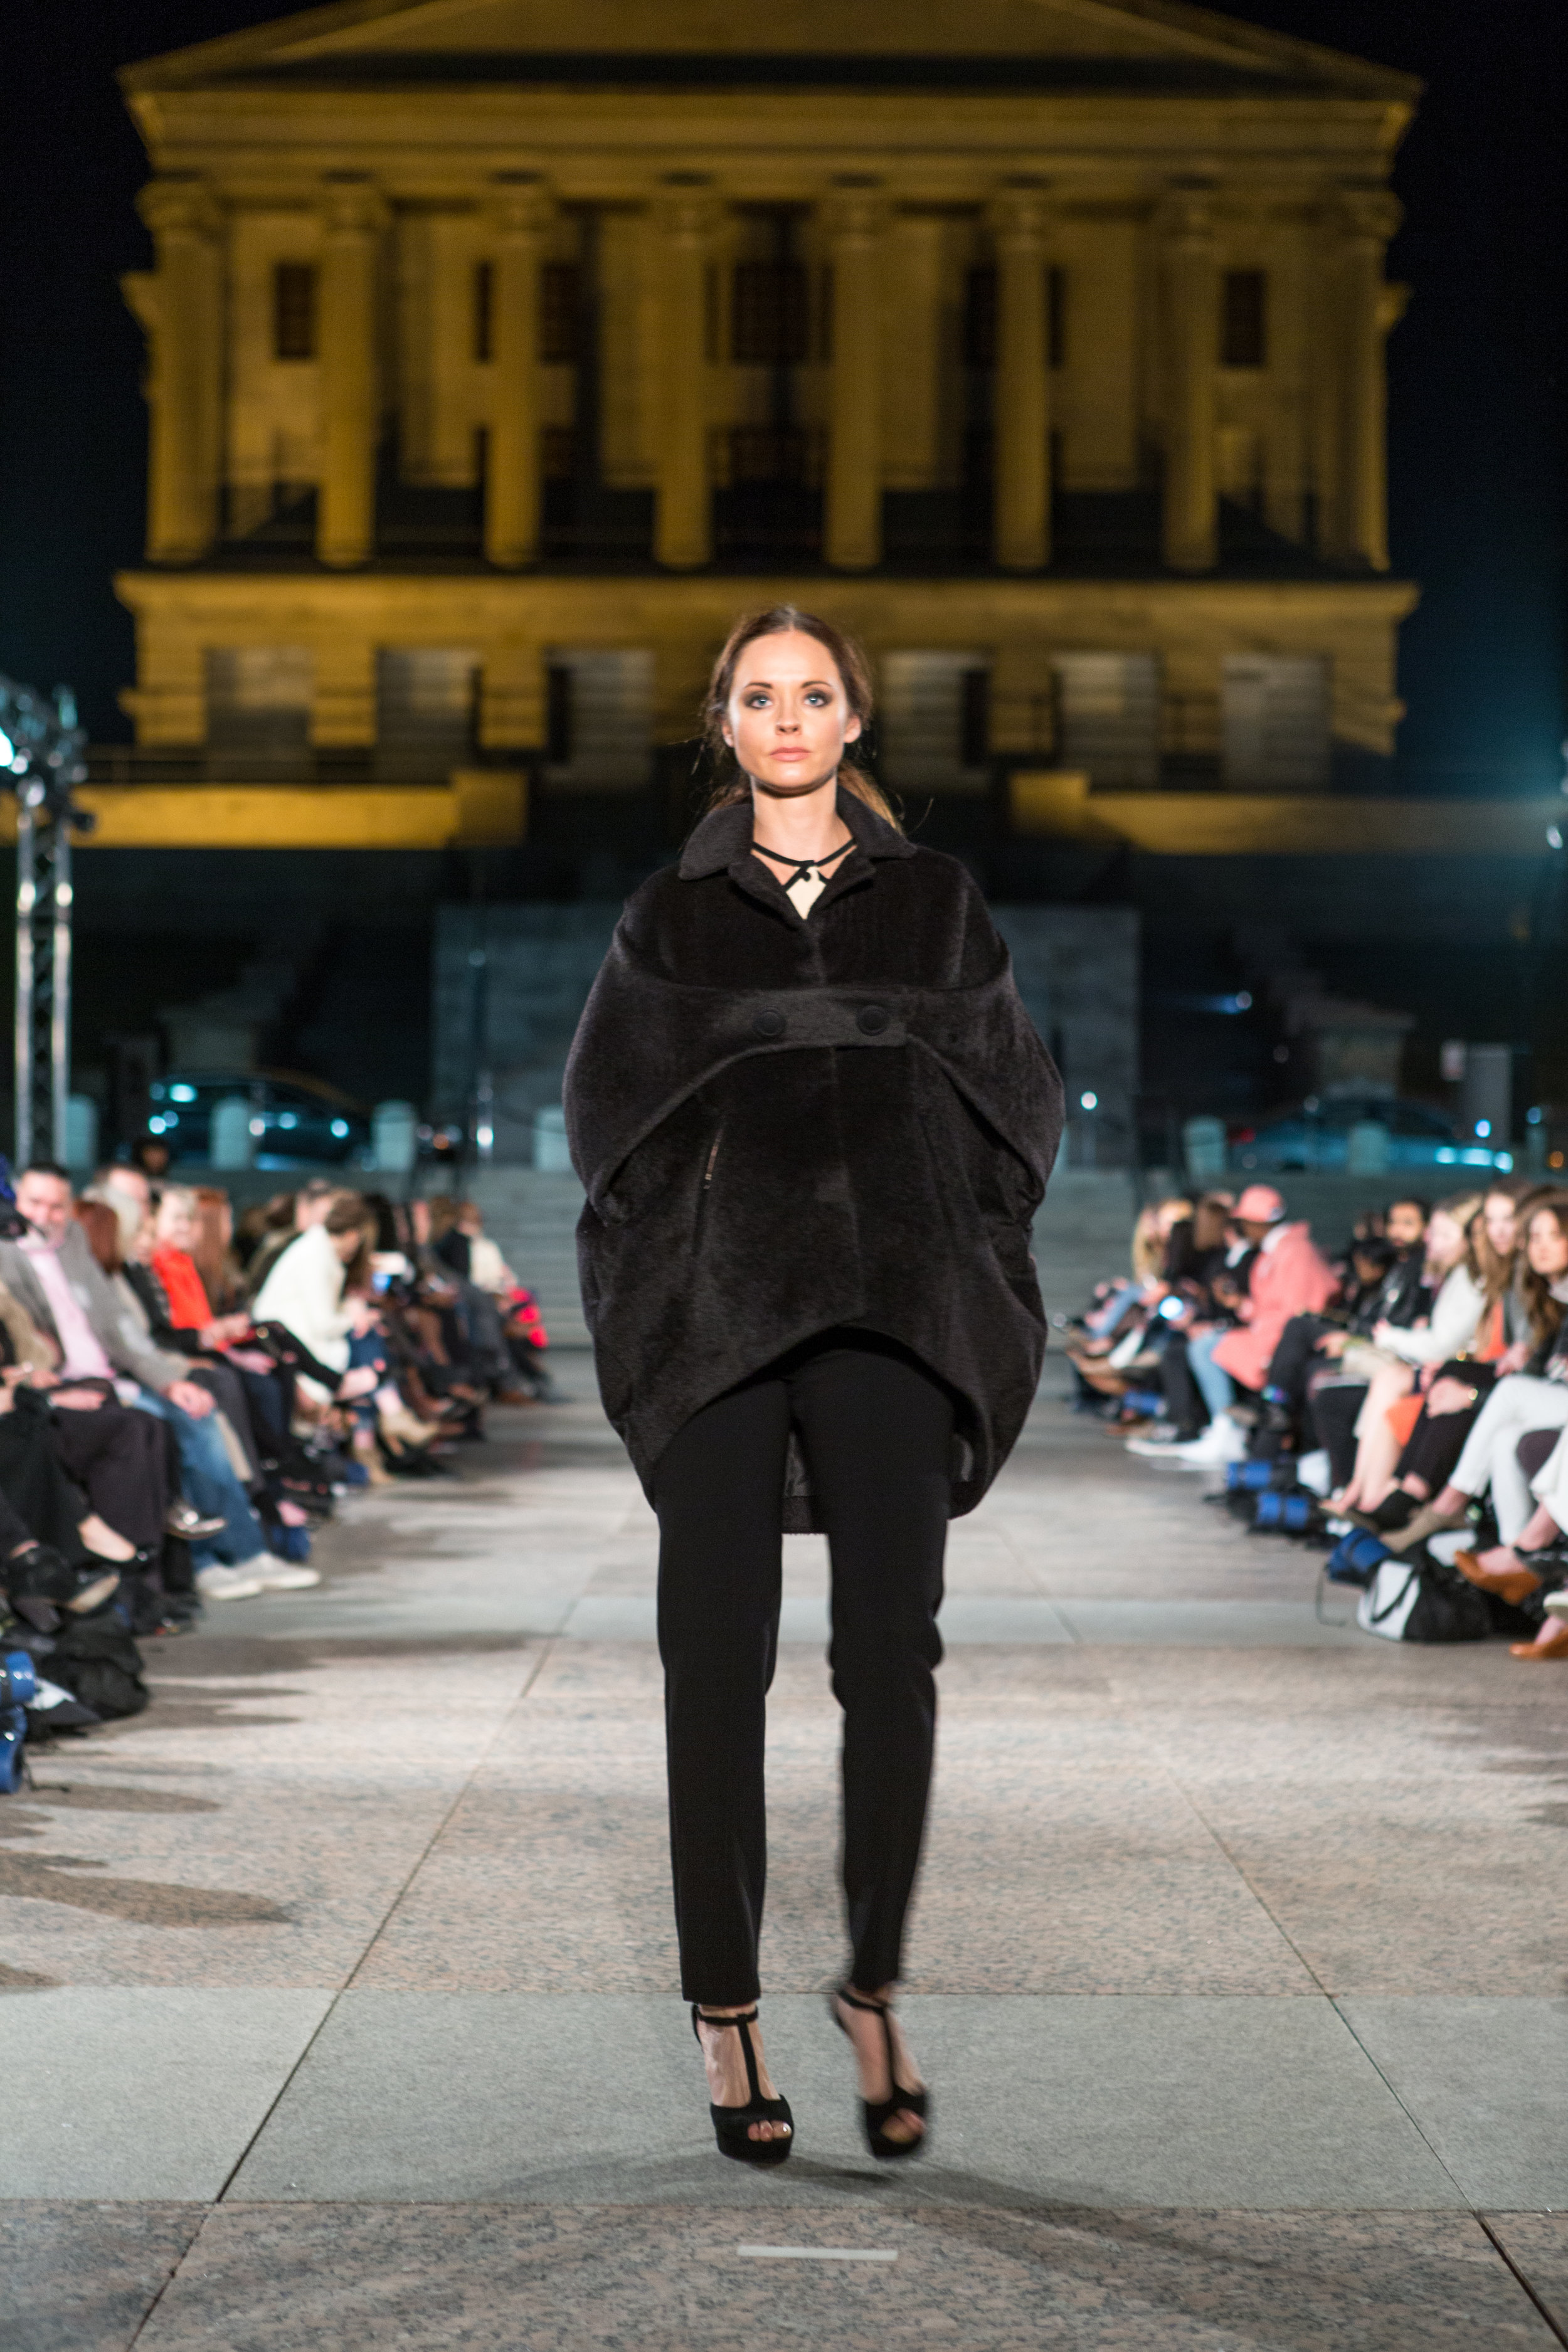
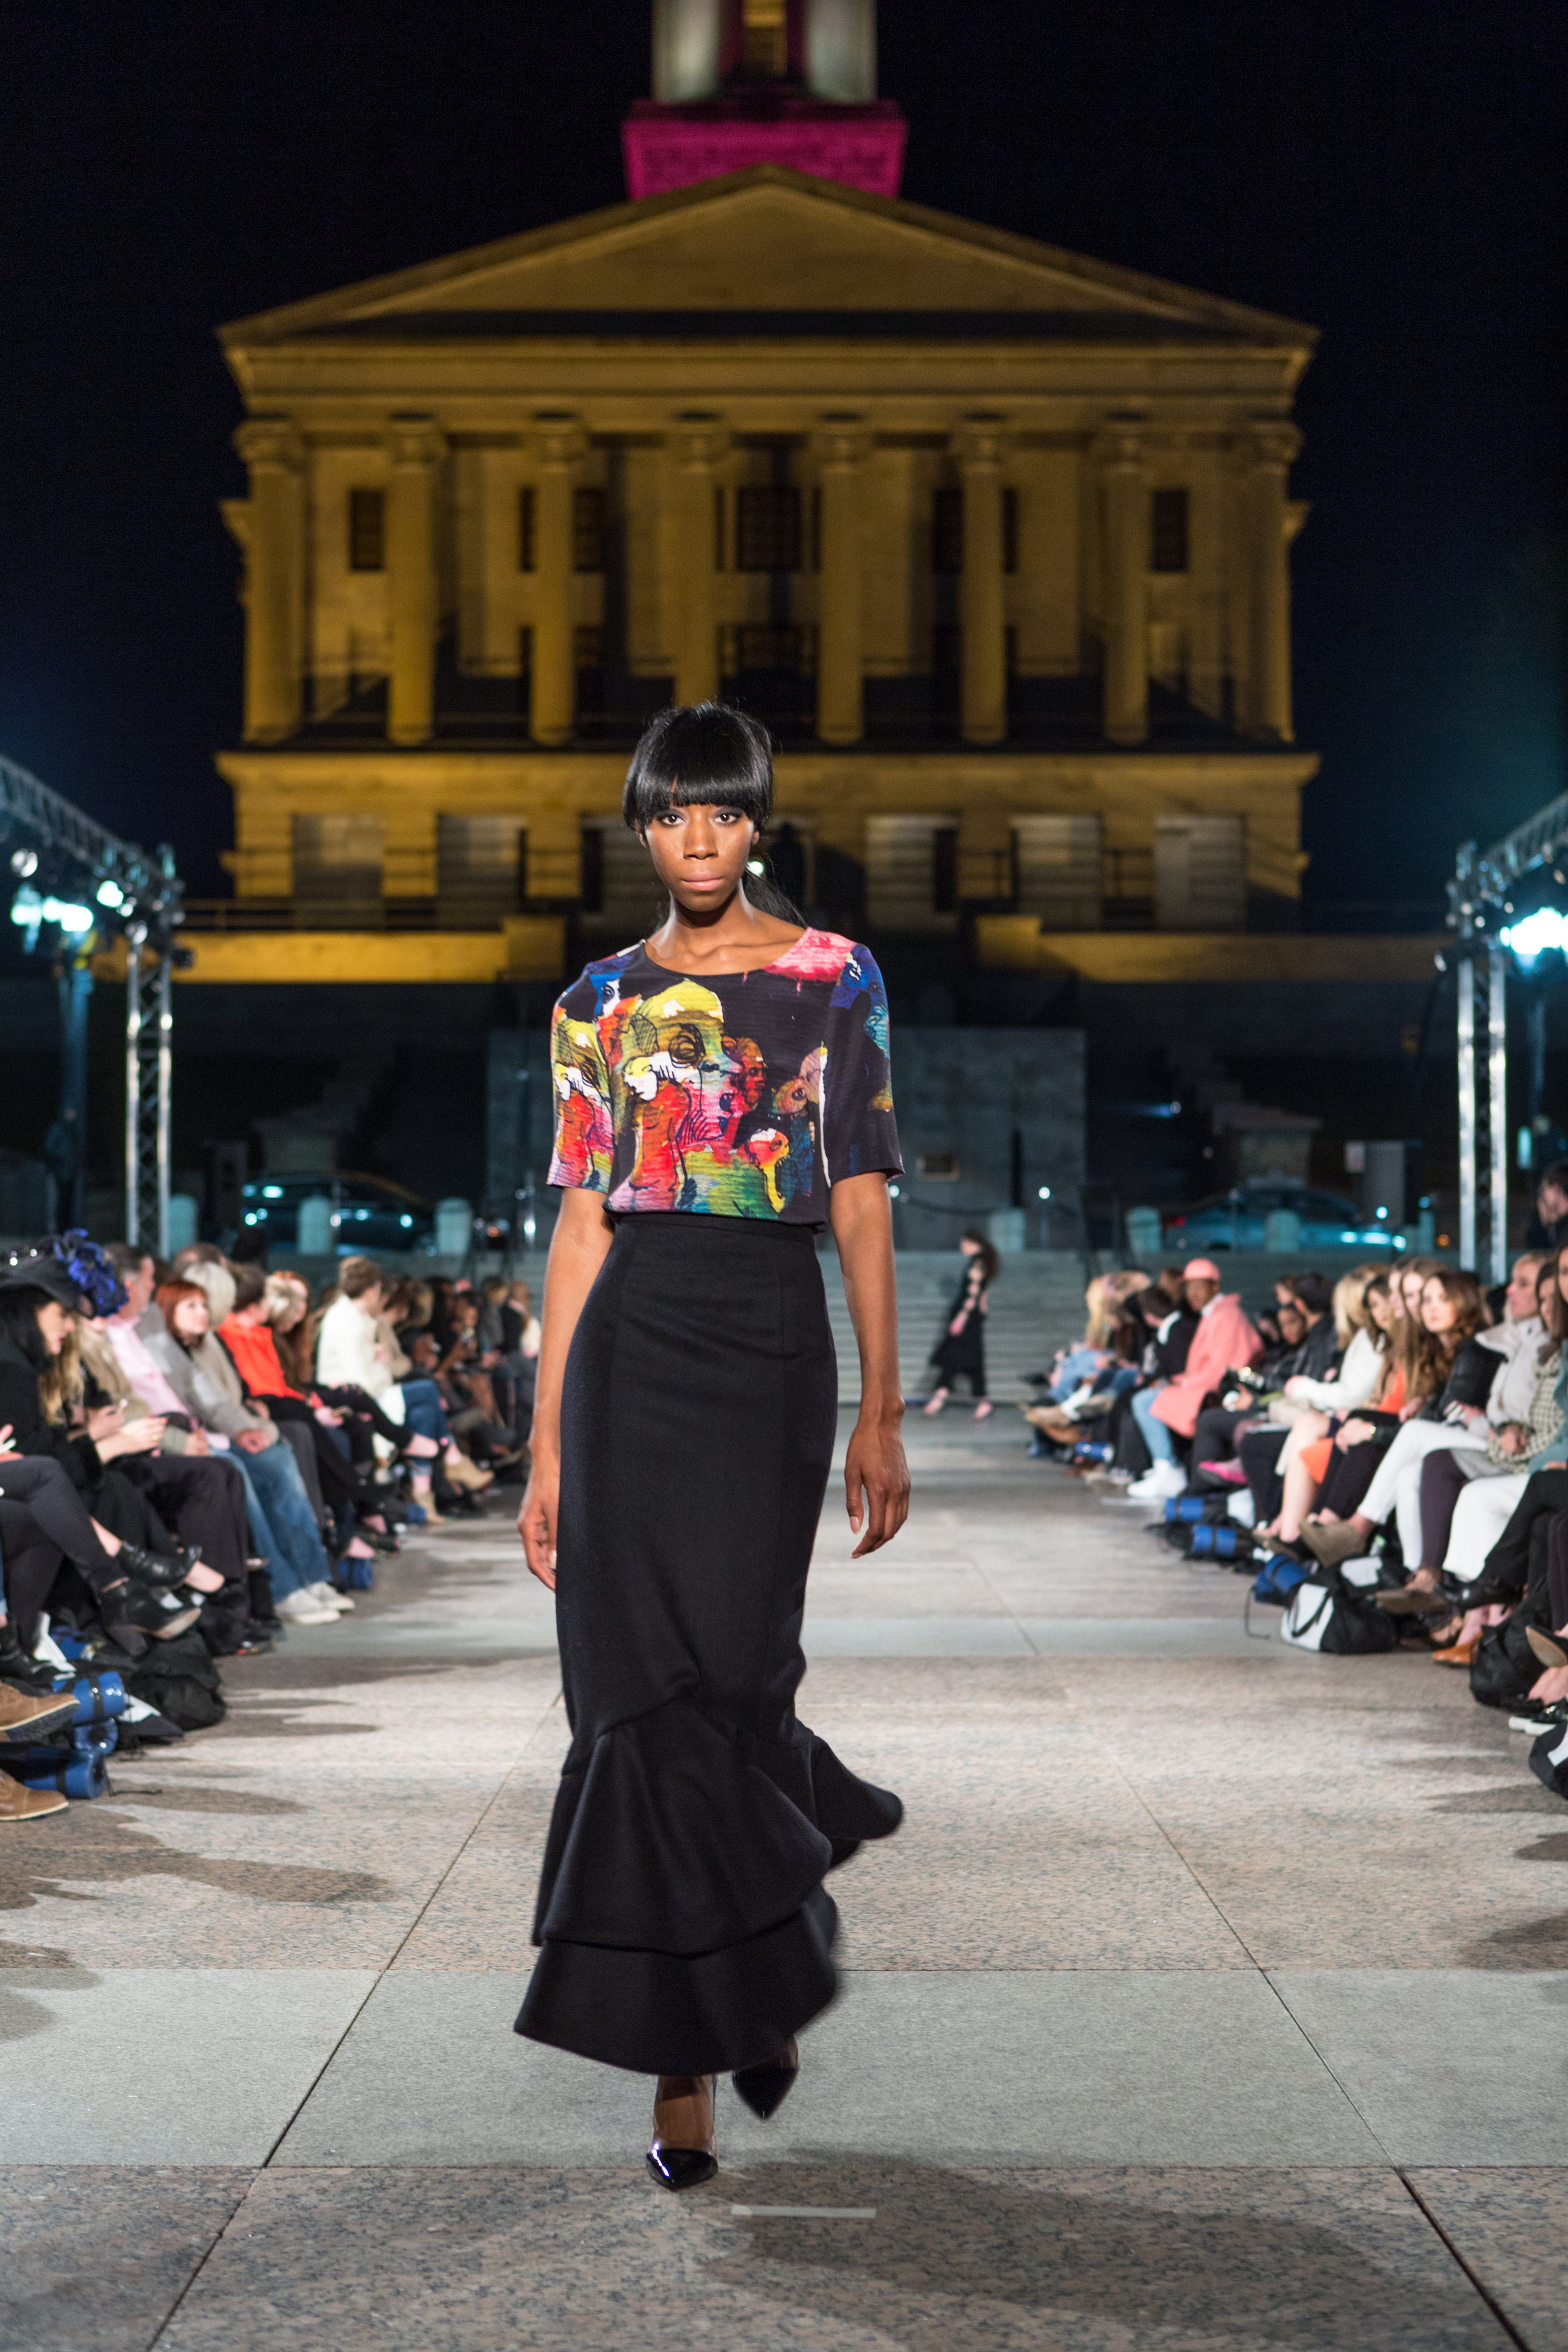
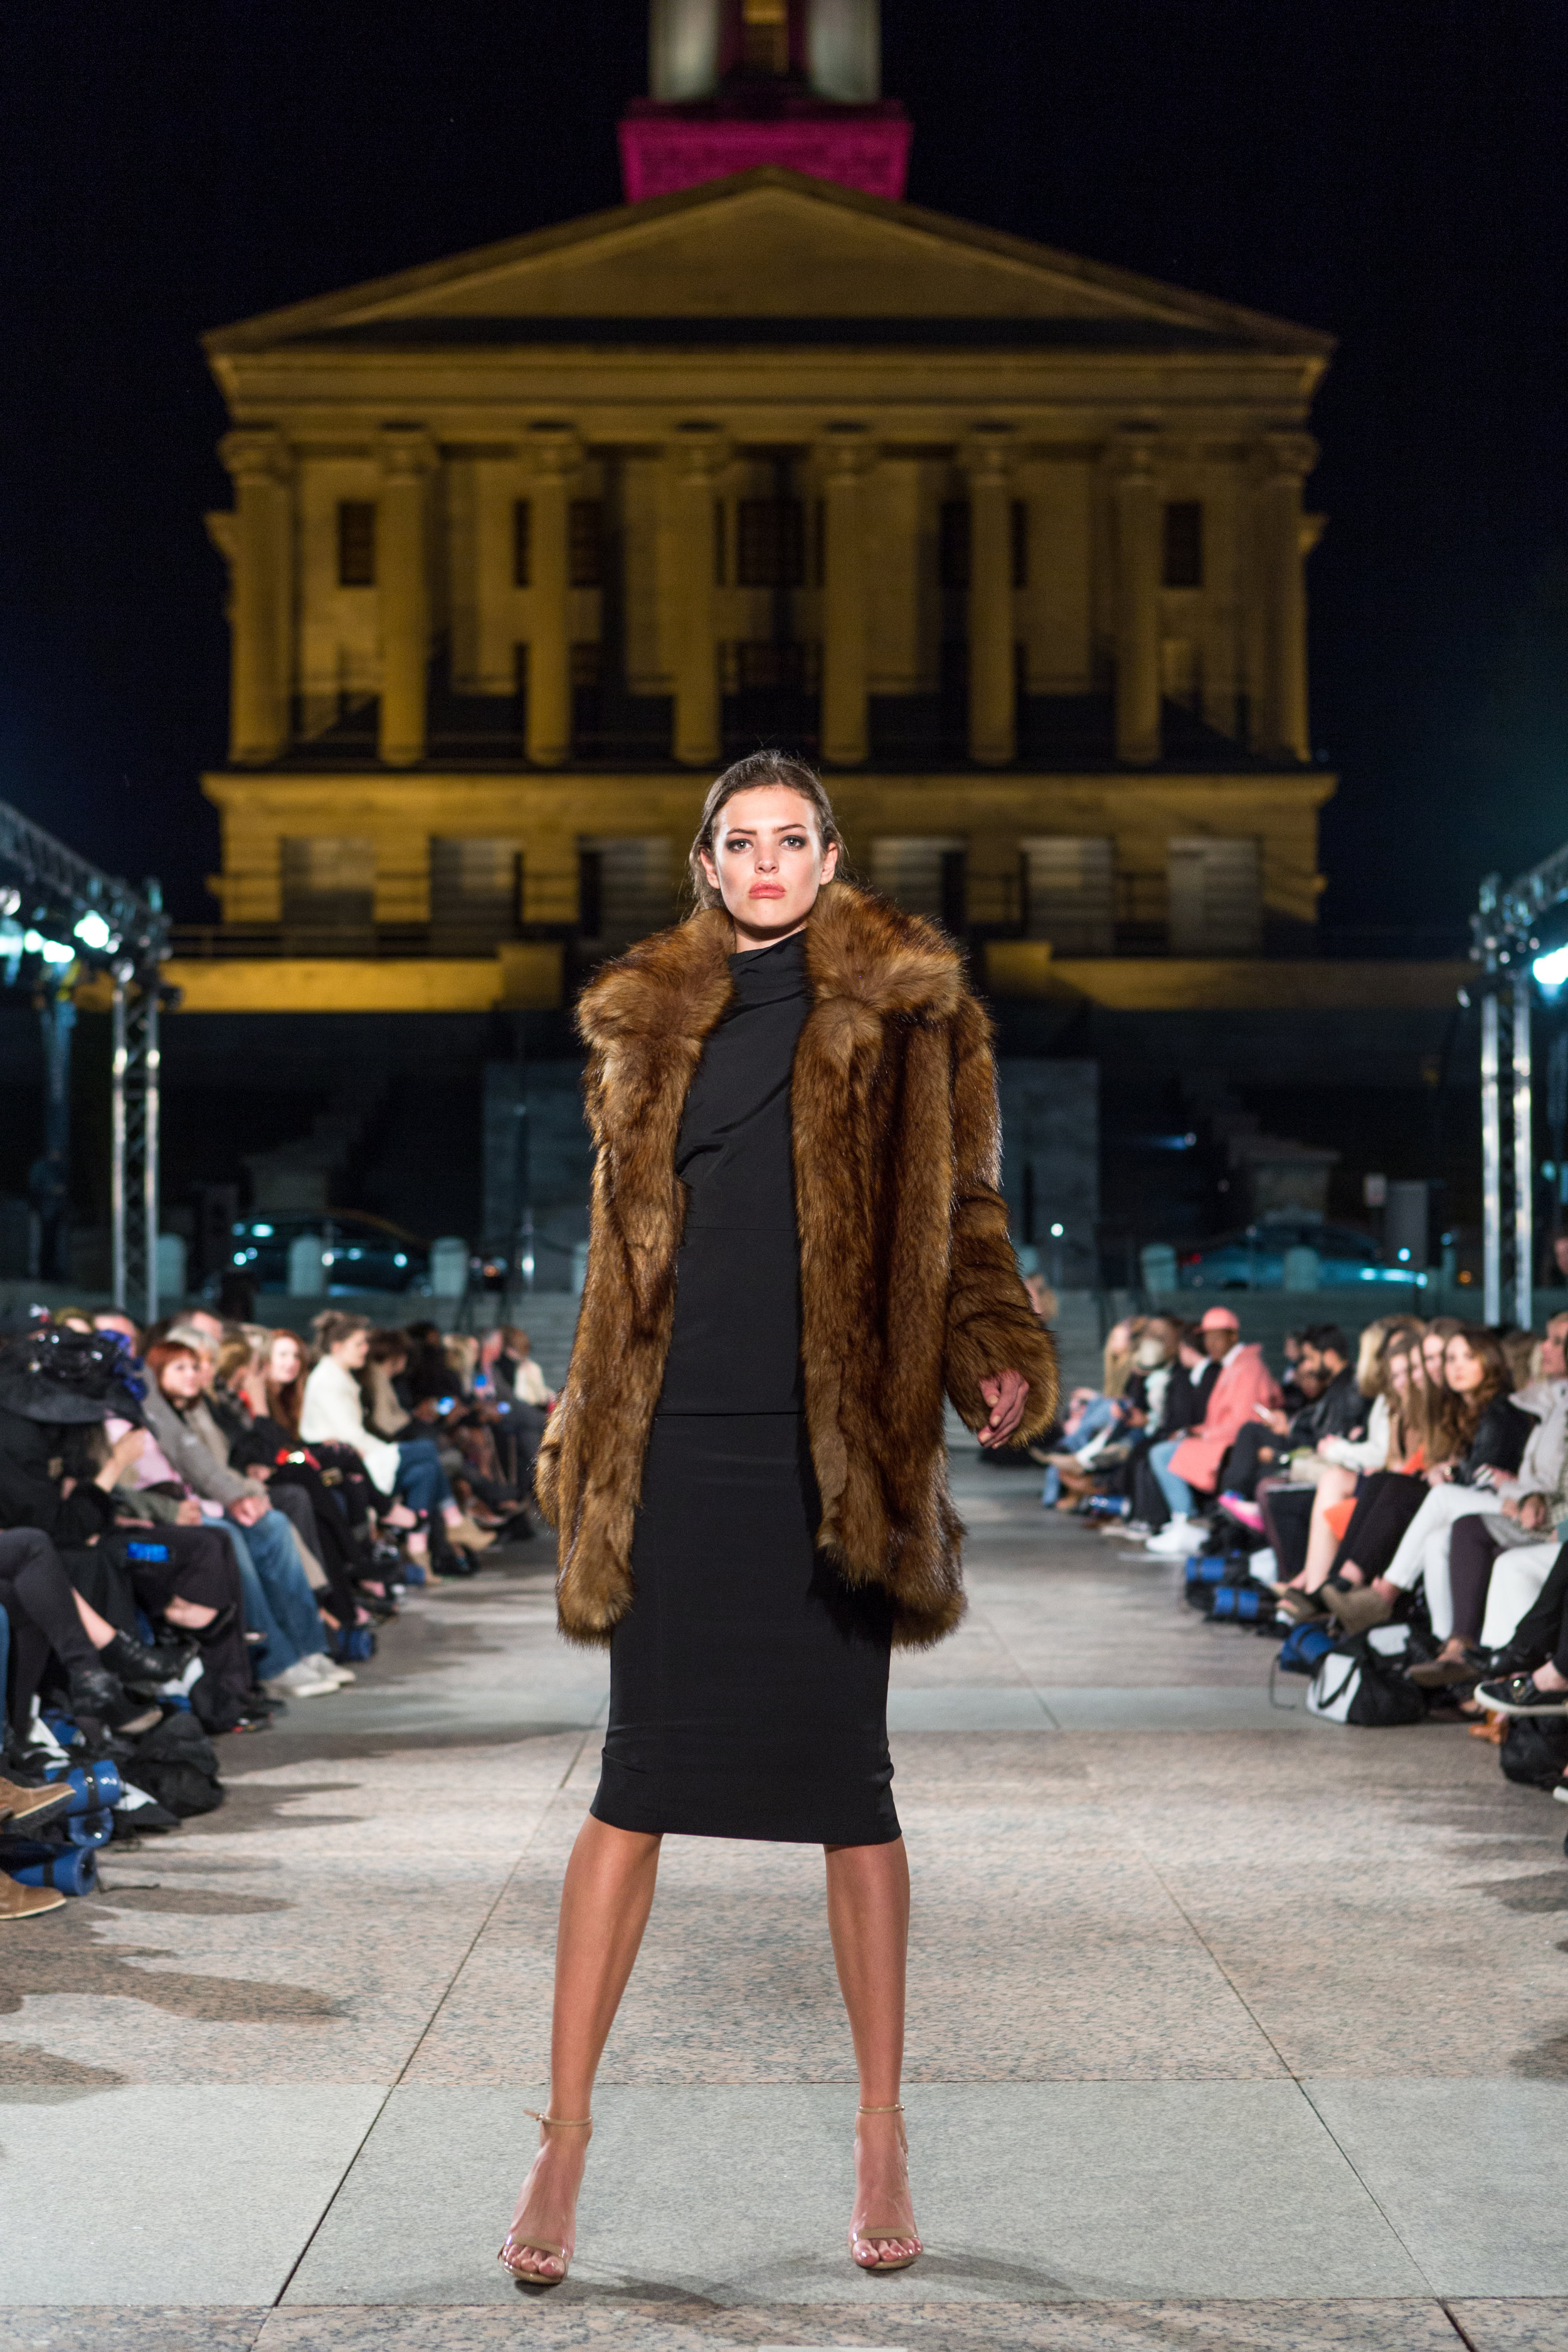
City Lights: Ready-To-Wear Runway Show
Tuesday
|
Wednesday
|
Thursday
|
Friday
|
Saturday
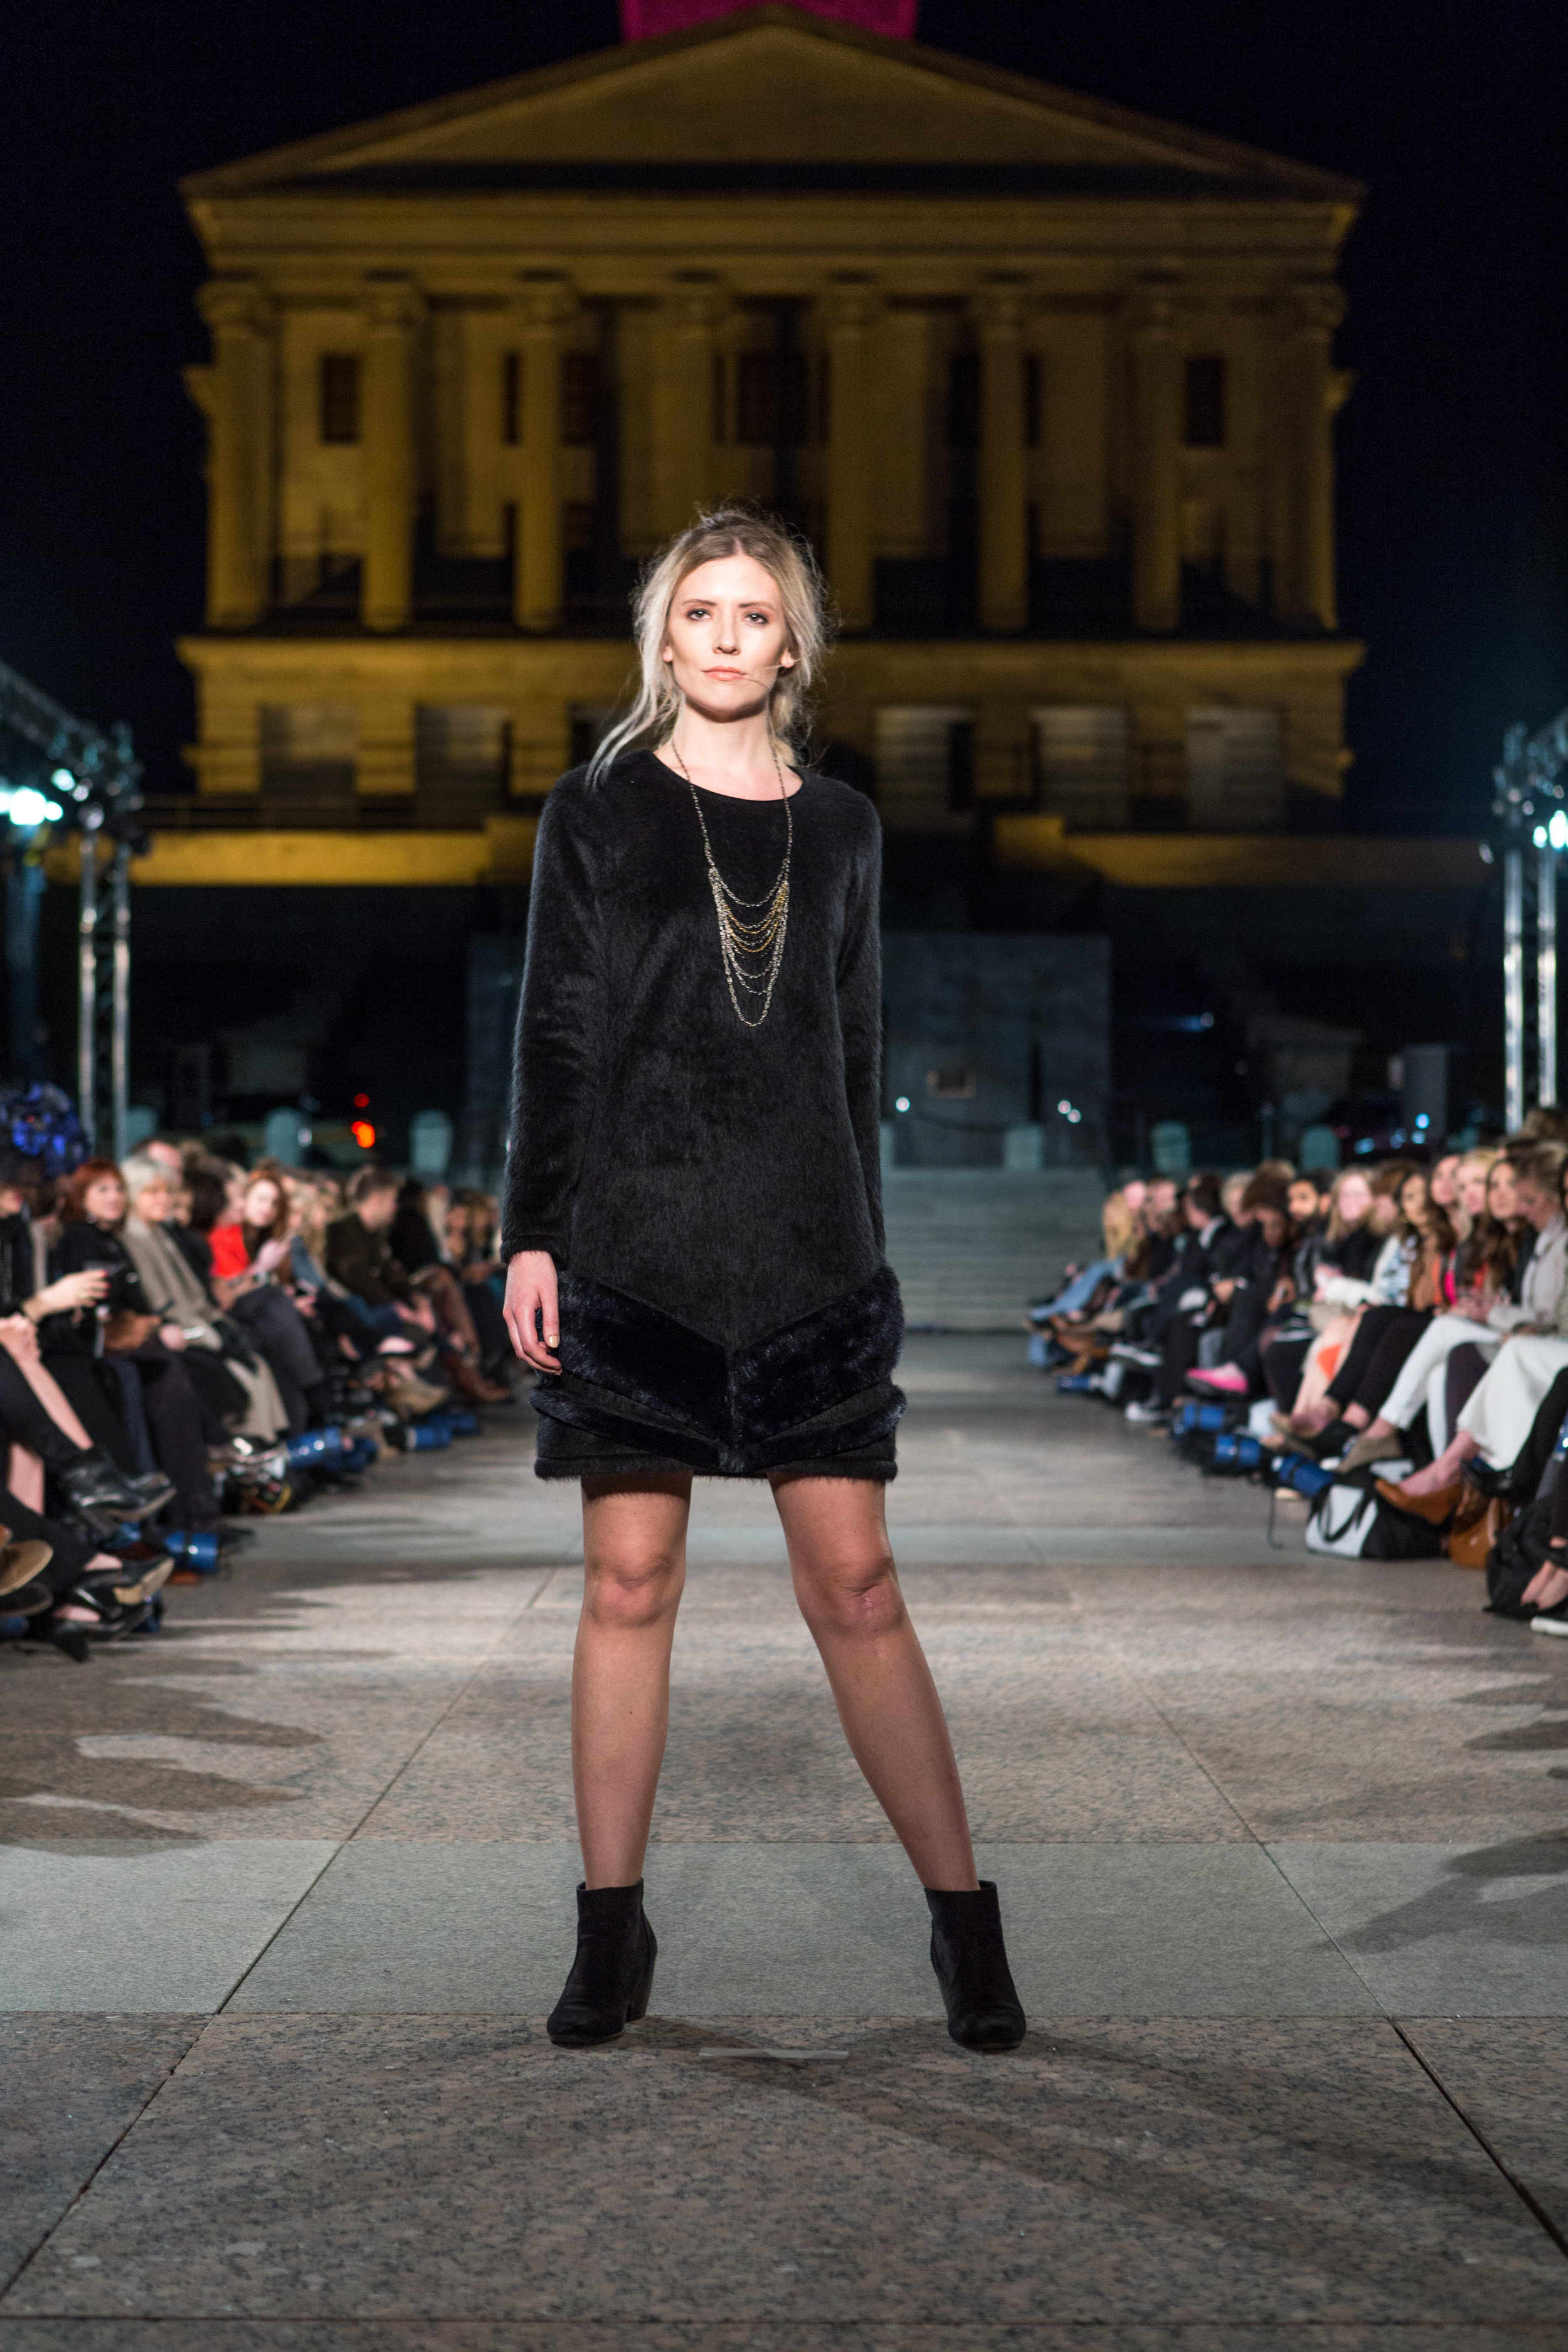
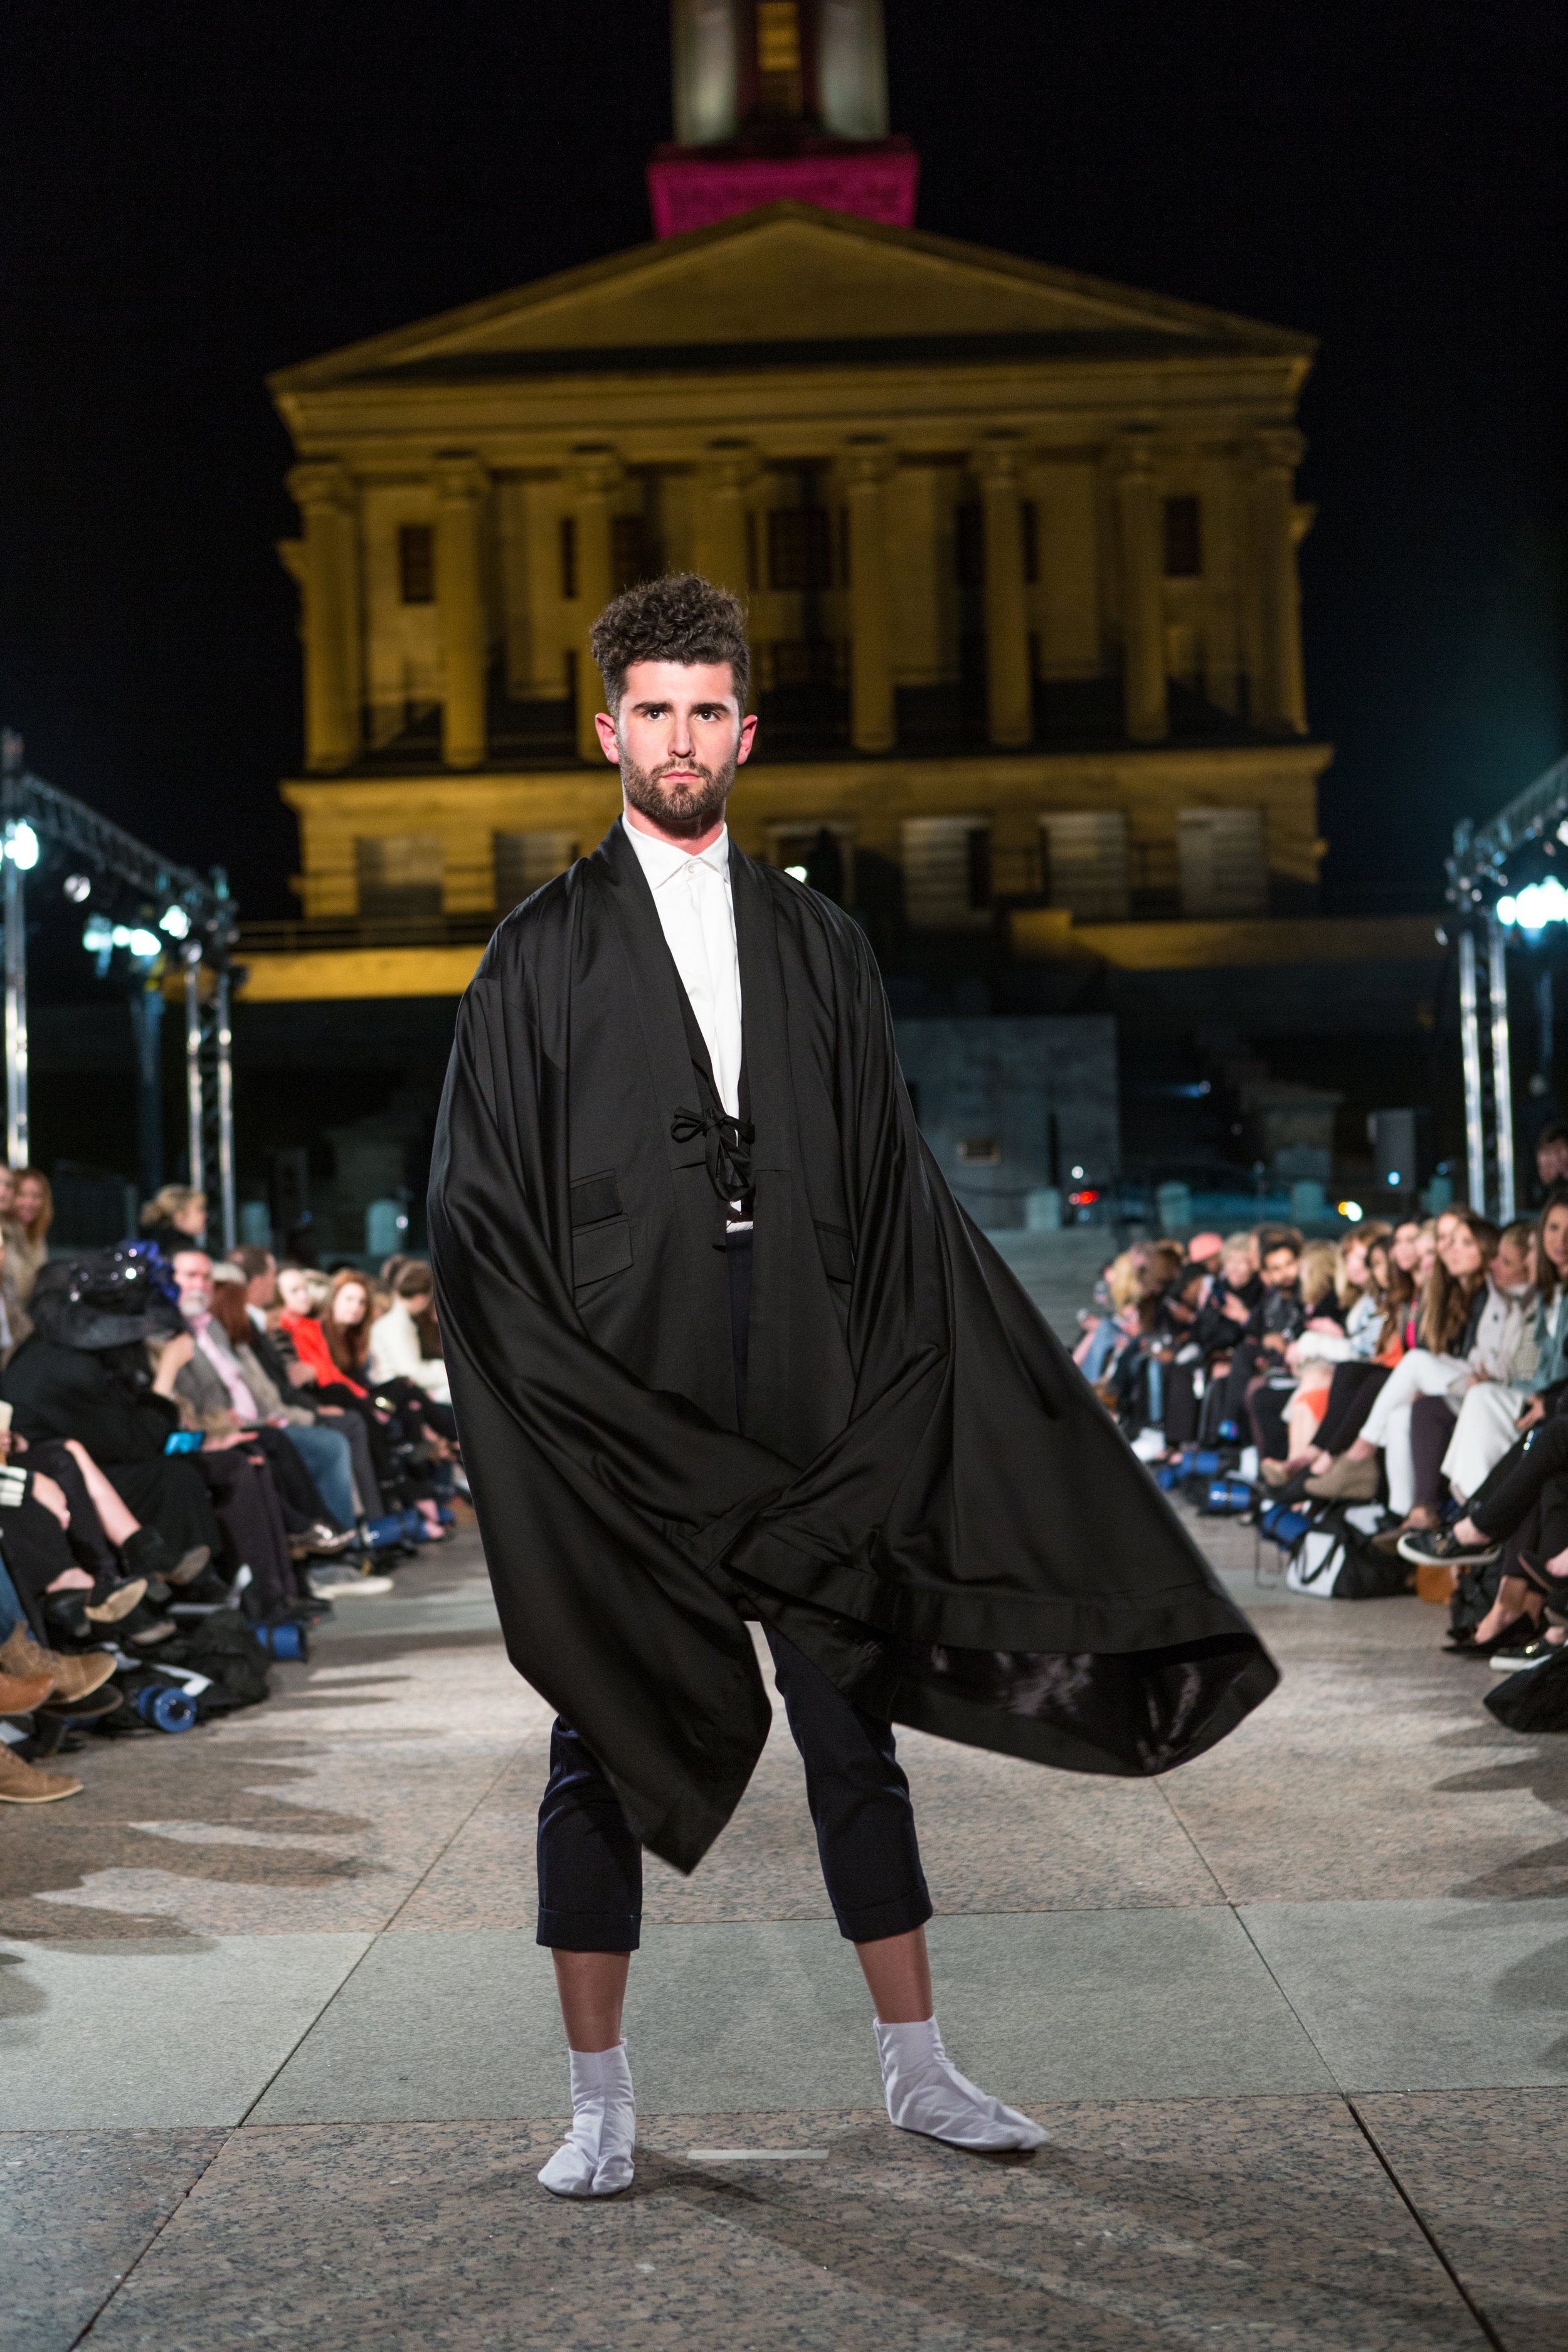
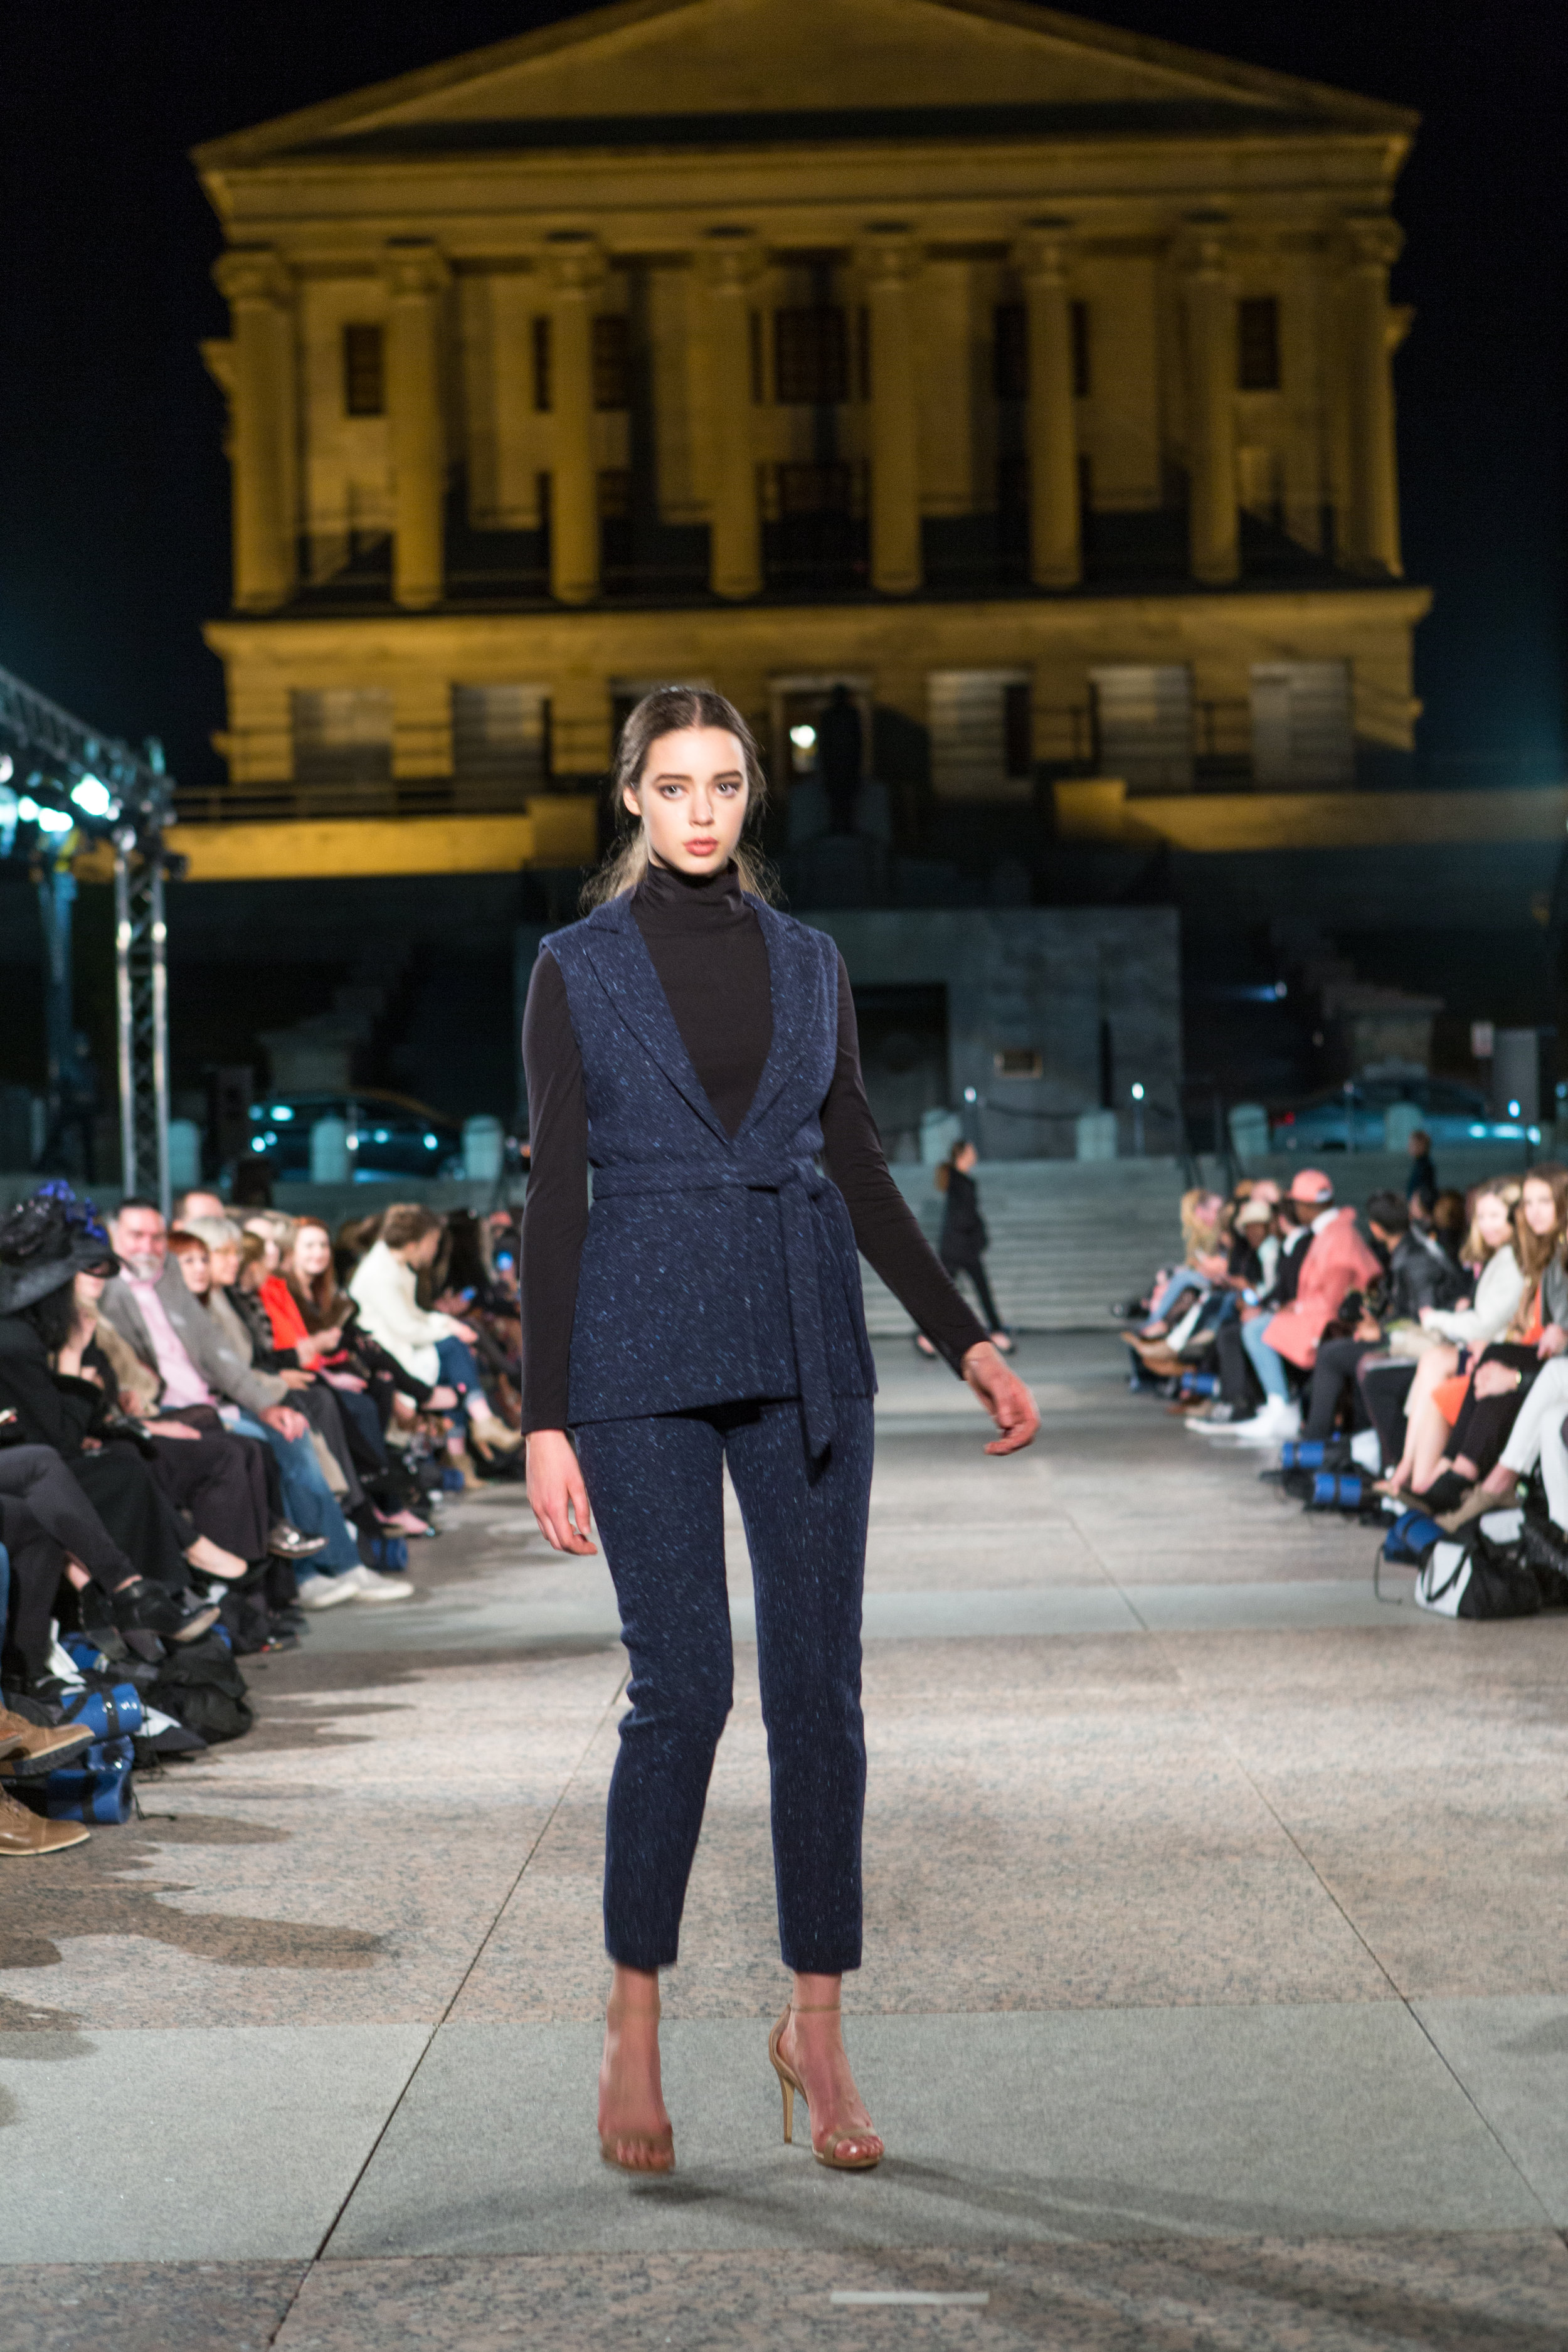
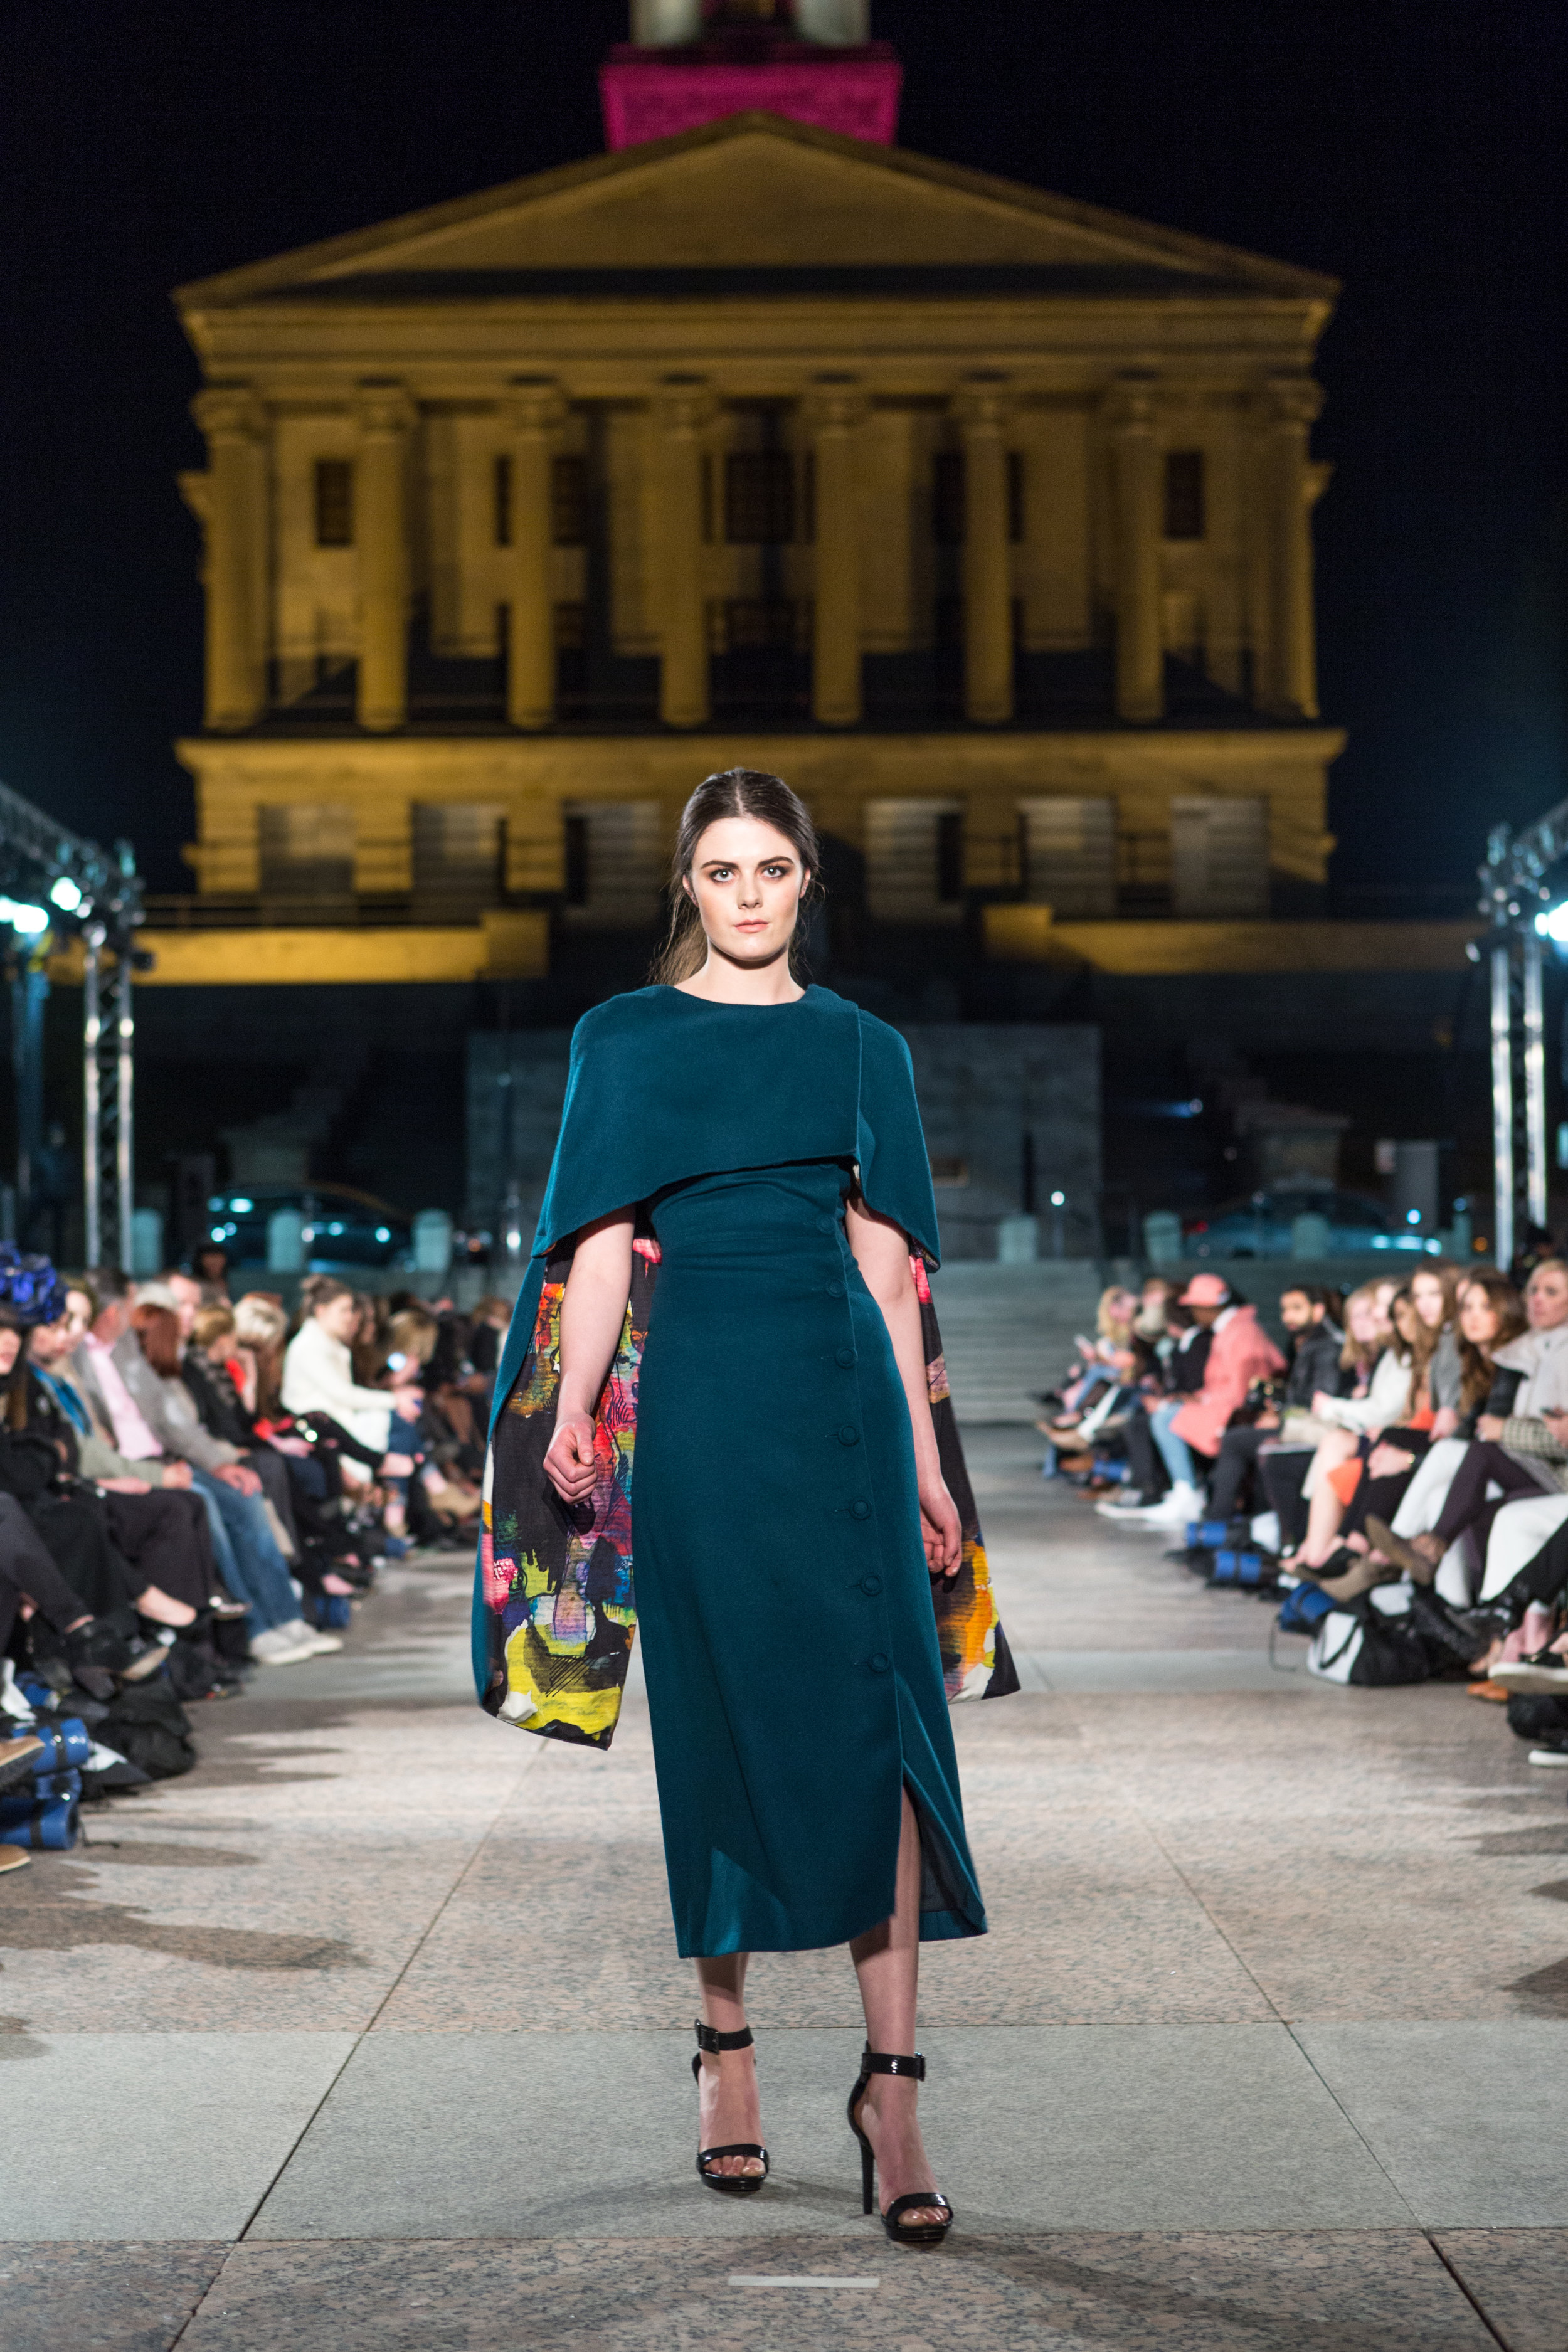
LAGI NADEAU
View fullsize
View fullsize
View fullsize
View fullsize
View fullsize
View fullsize
View fullsize
View fullsize
View fullsize
View fullsize
View fullsize
View fullsize
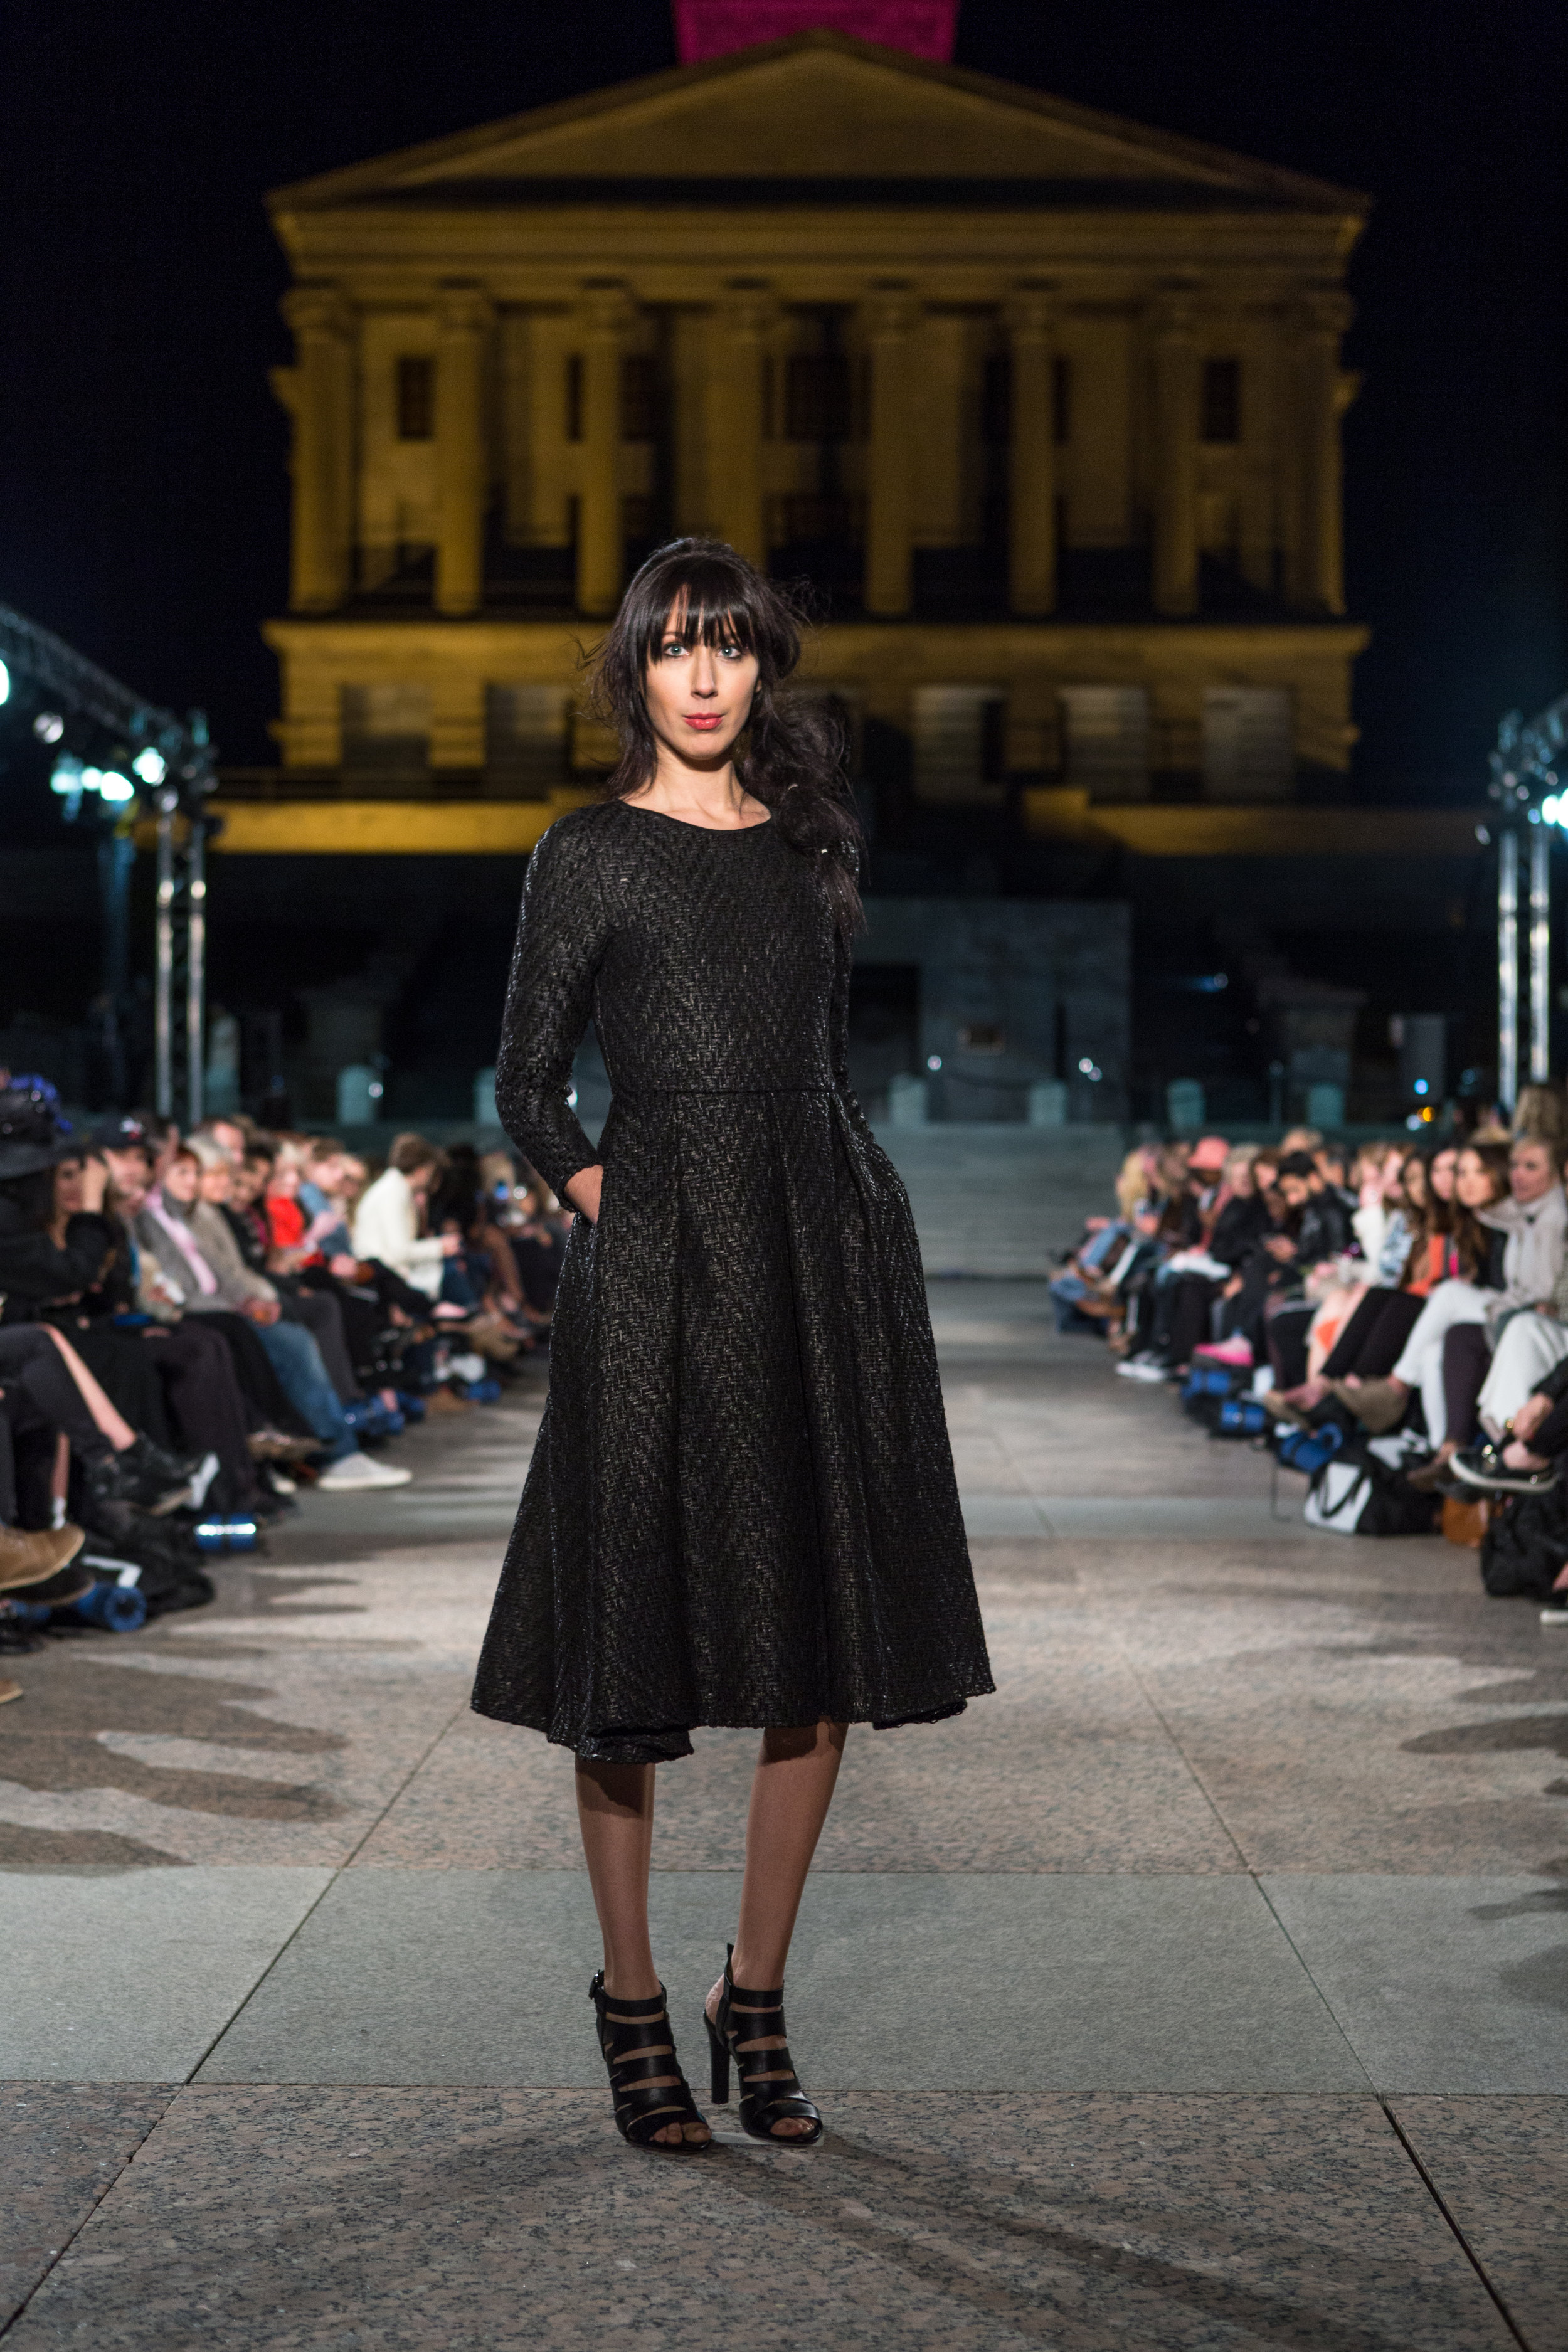
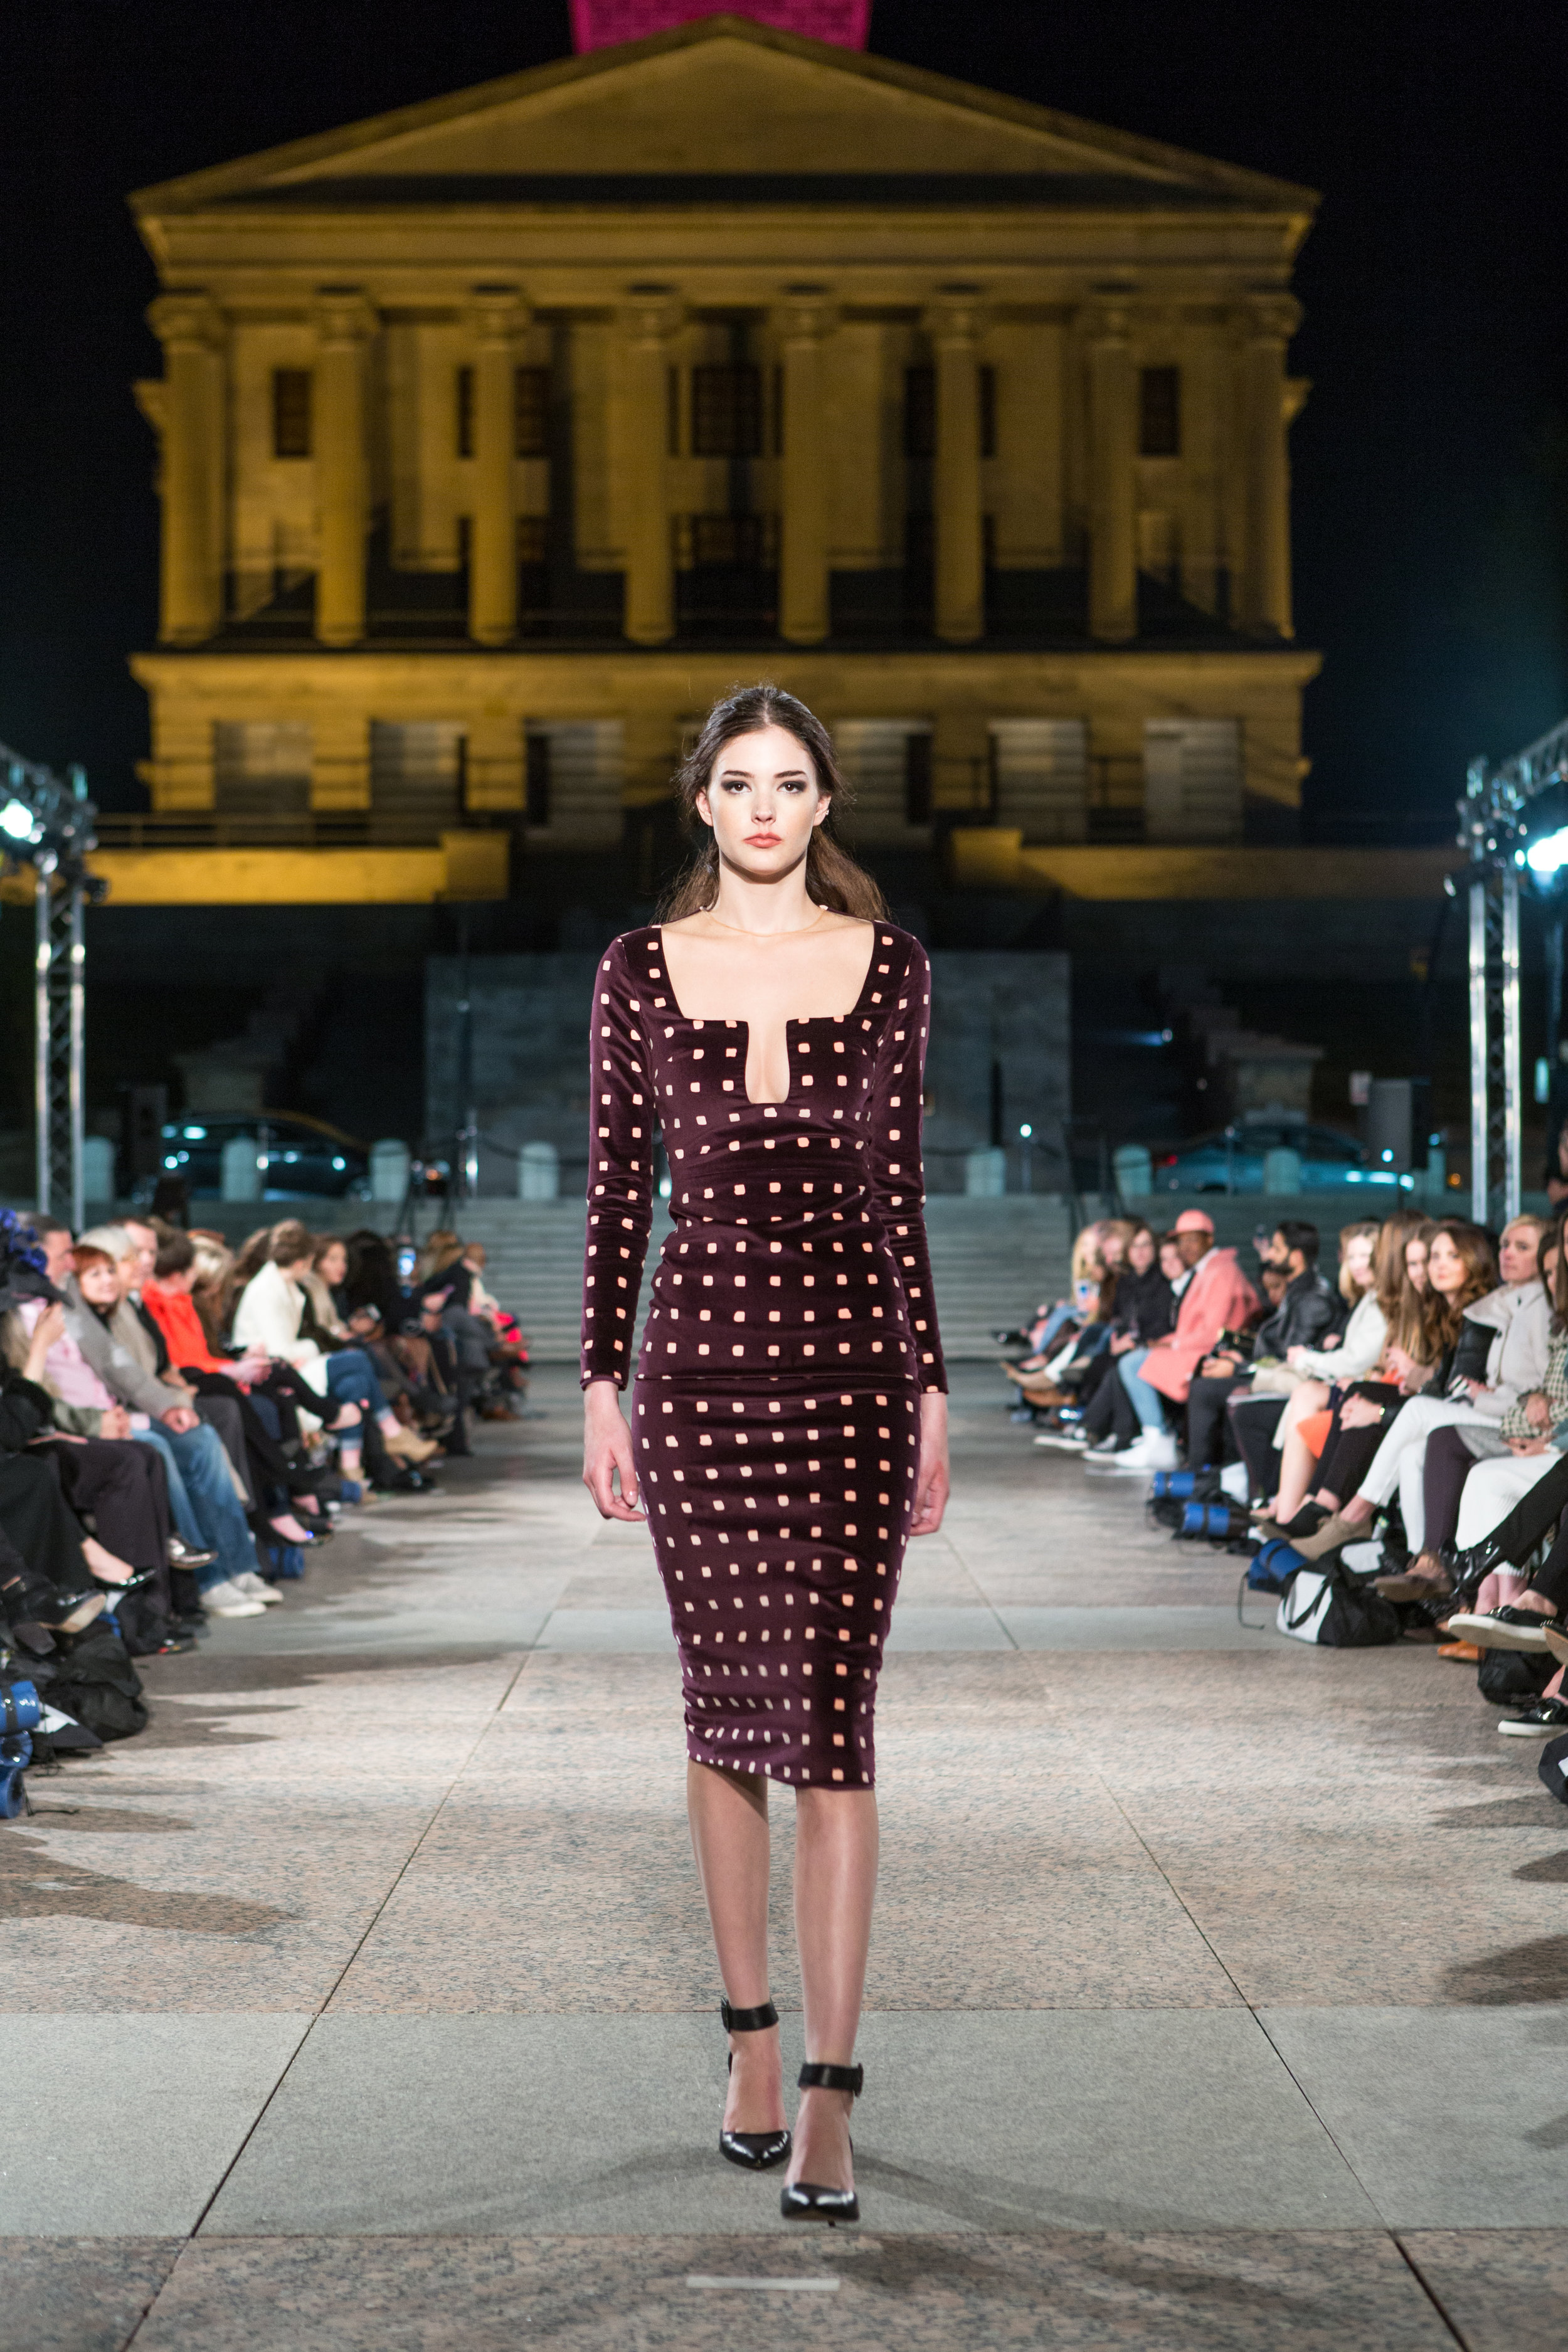
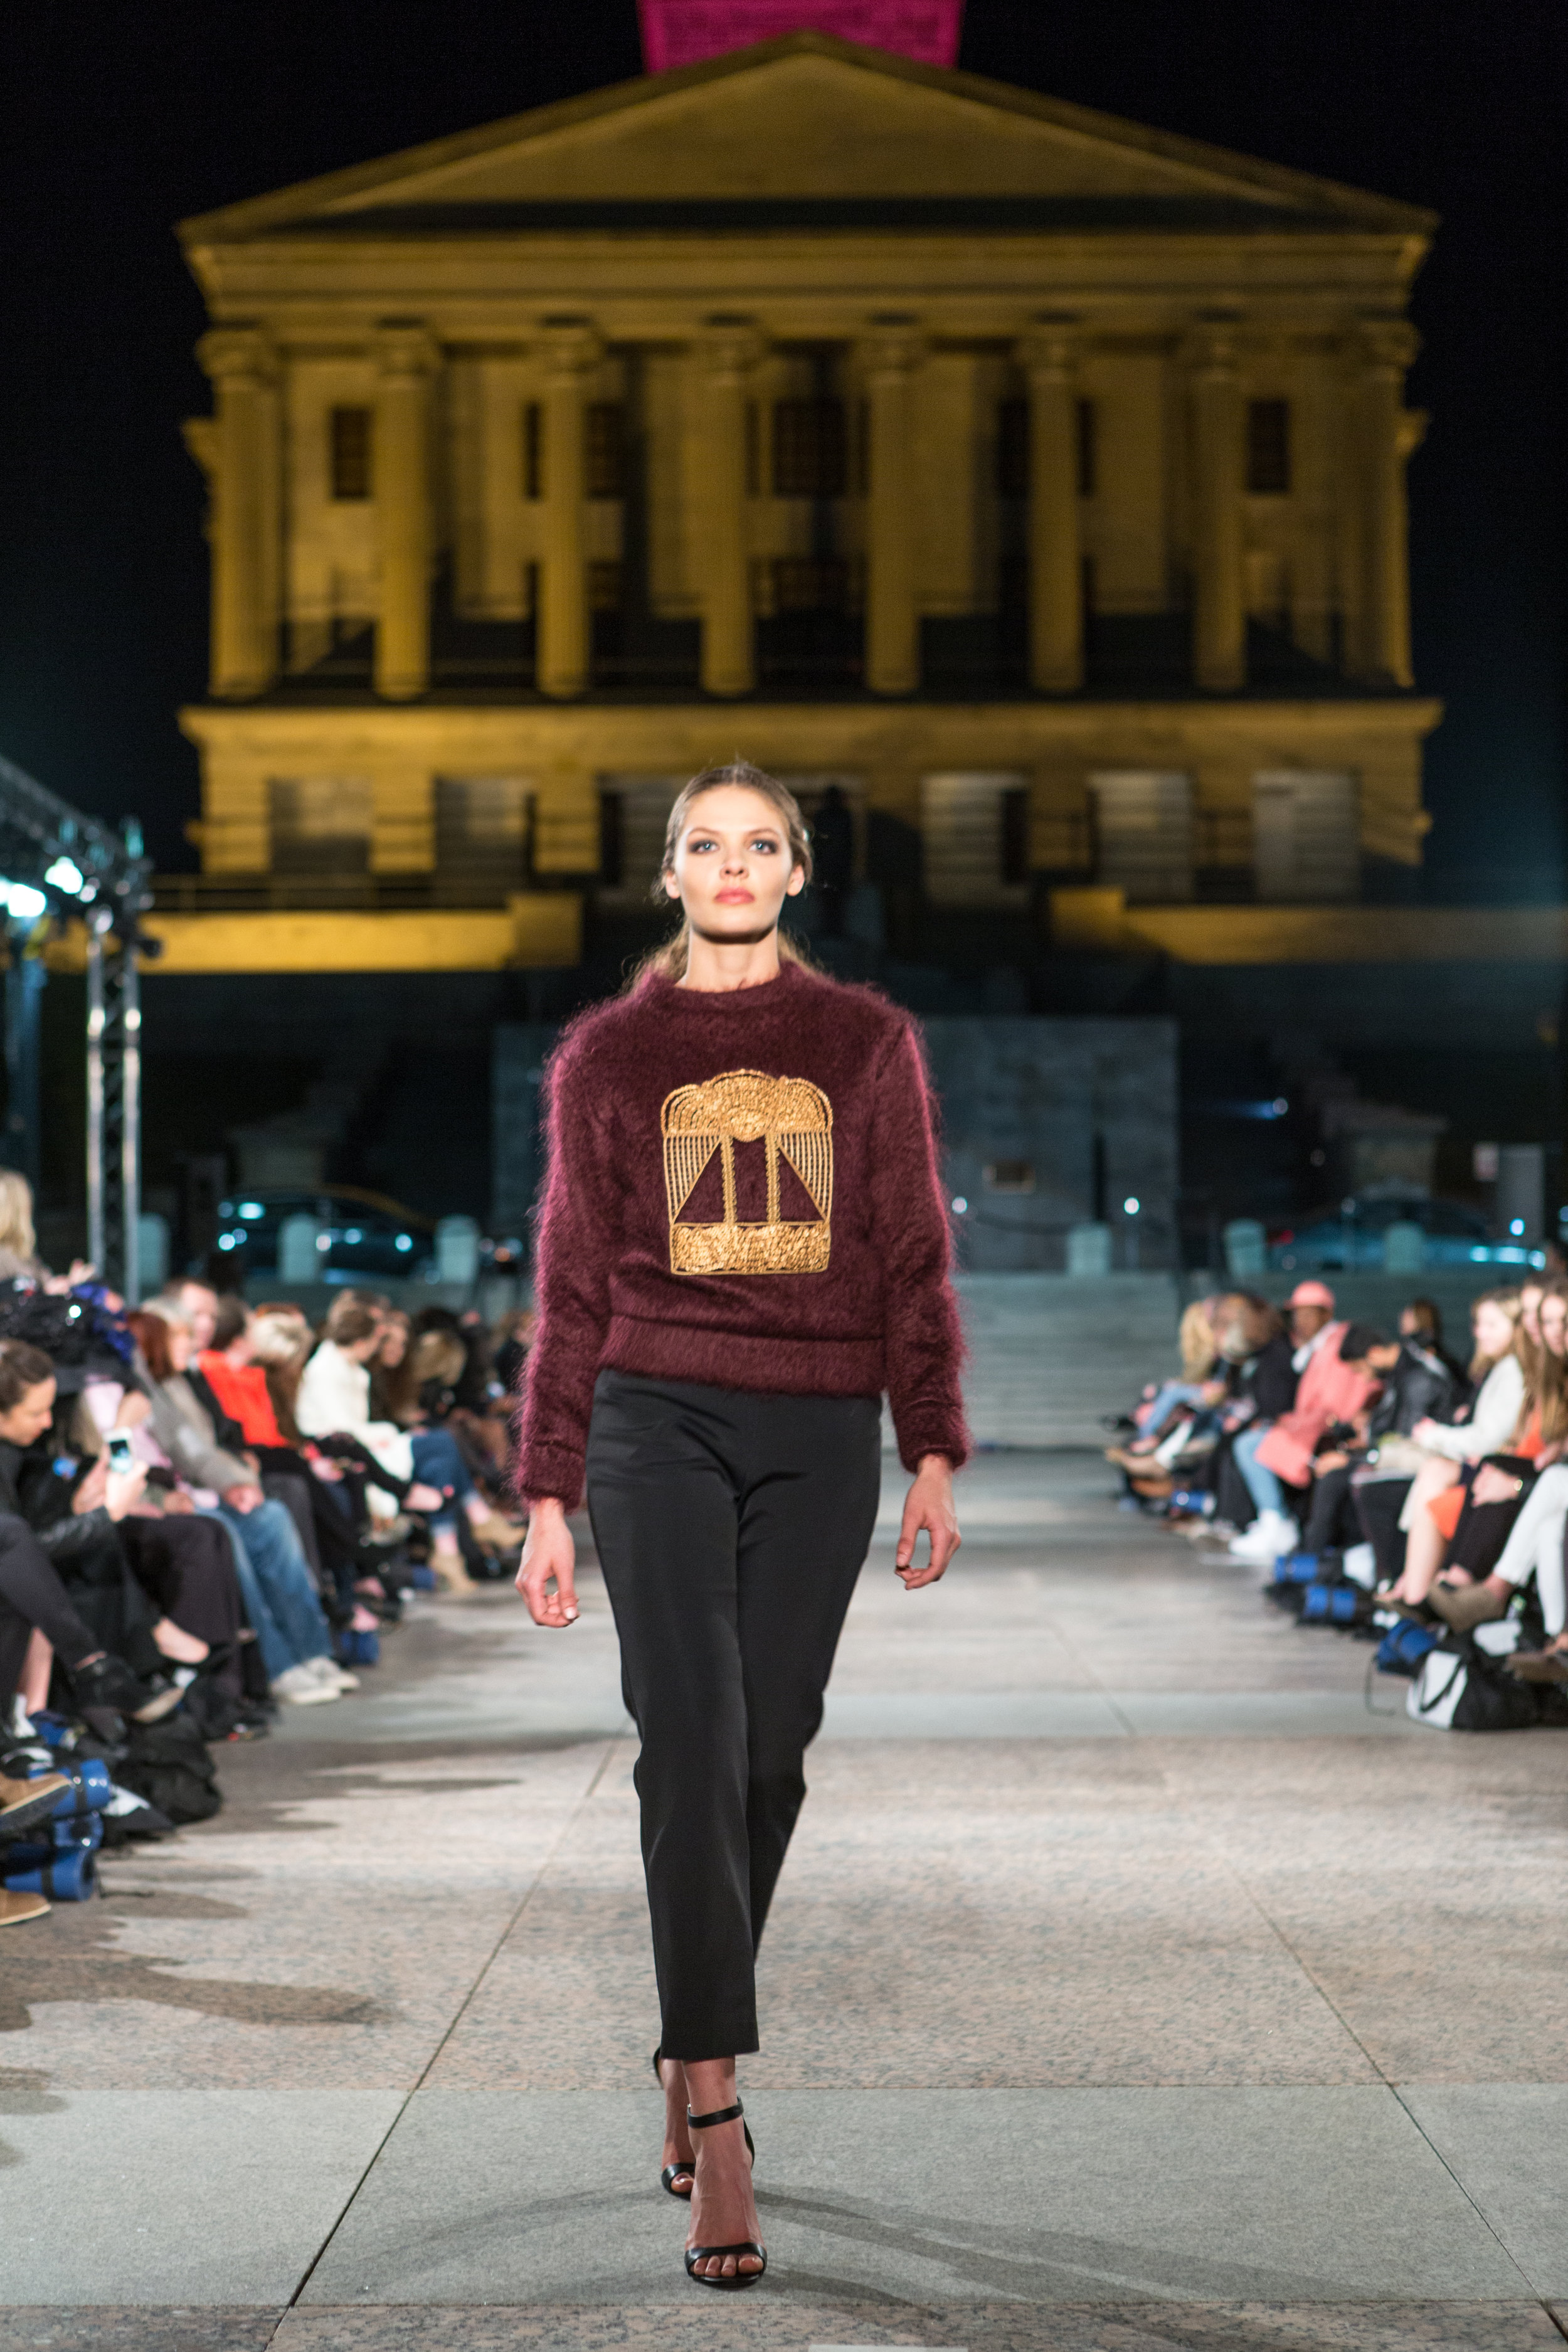
MEGAN HUNTZ
View fullsize
View fullsize
View fullsize
View fullsize
View fullsize
View fullsize
View fullsize
View fullsize
View fullsize
View fullsize
View fullsize
OBERIMA AFRIYIE
View fullsize
View fullsize
View fullsize
View fullsize
View fullsize
View fullsize
View fullsize
View fullsize
View fullsize
View fullsize
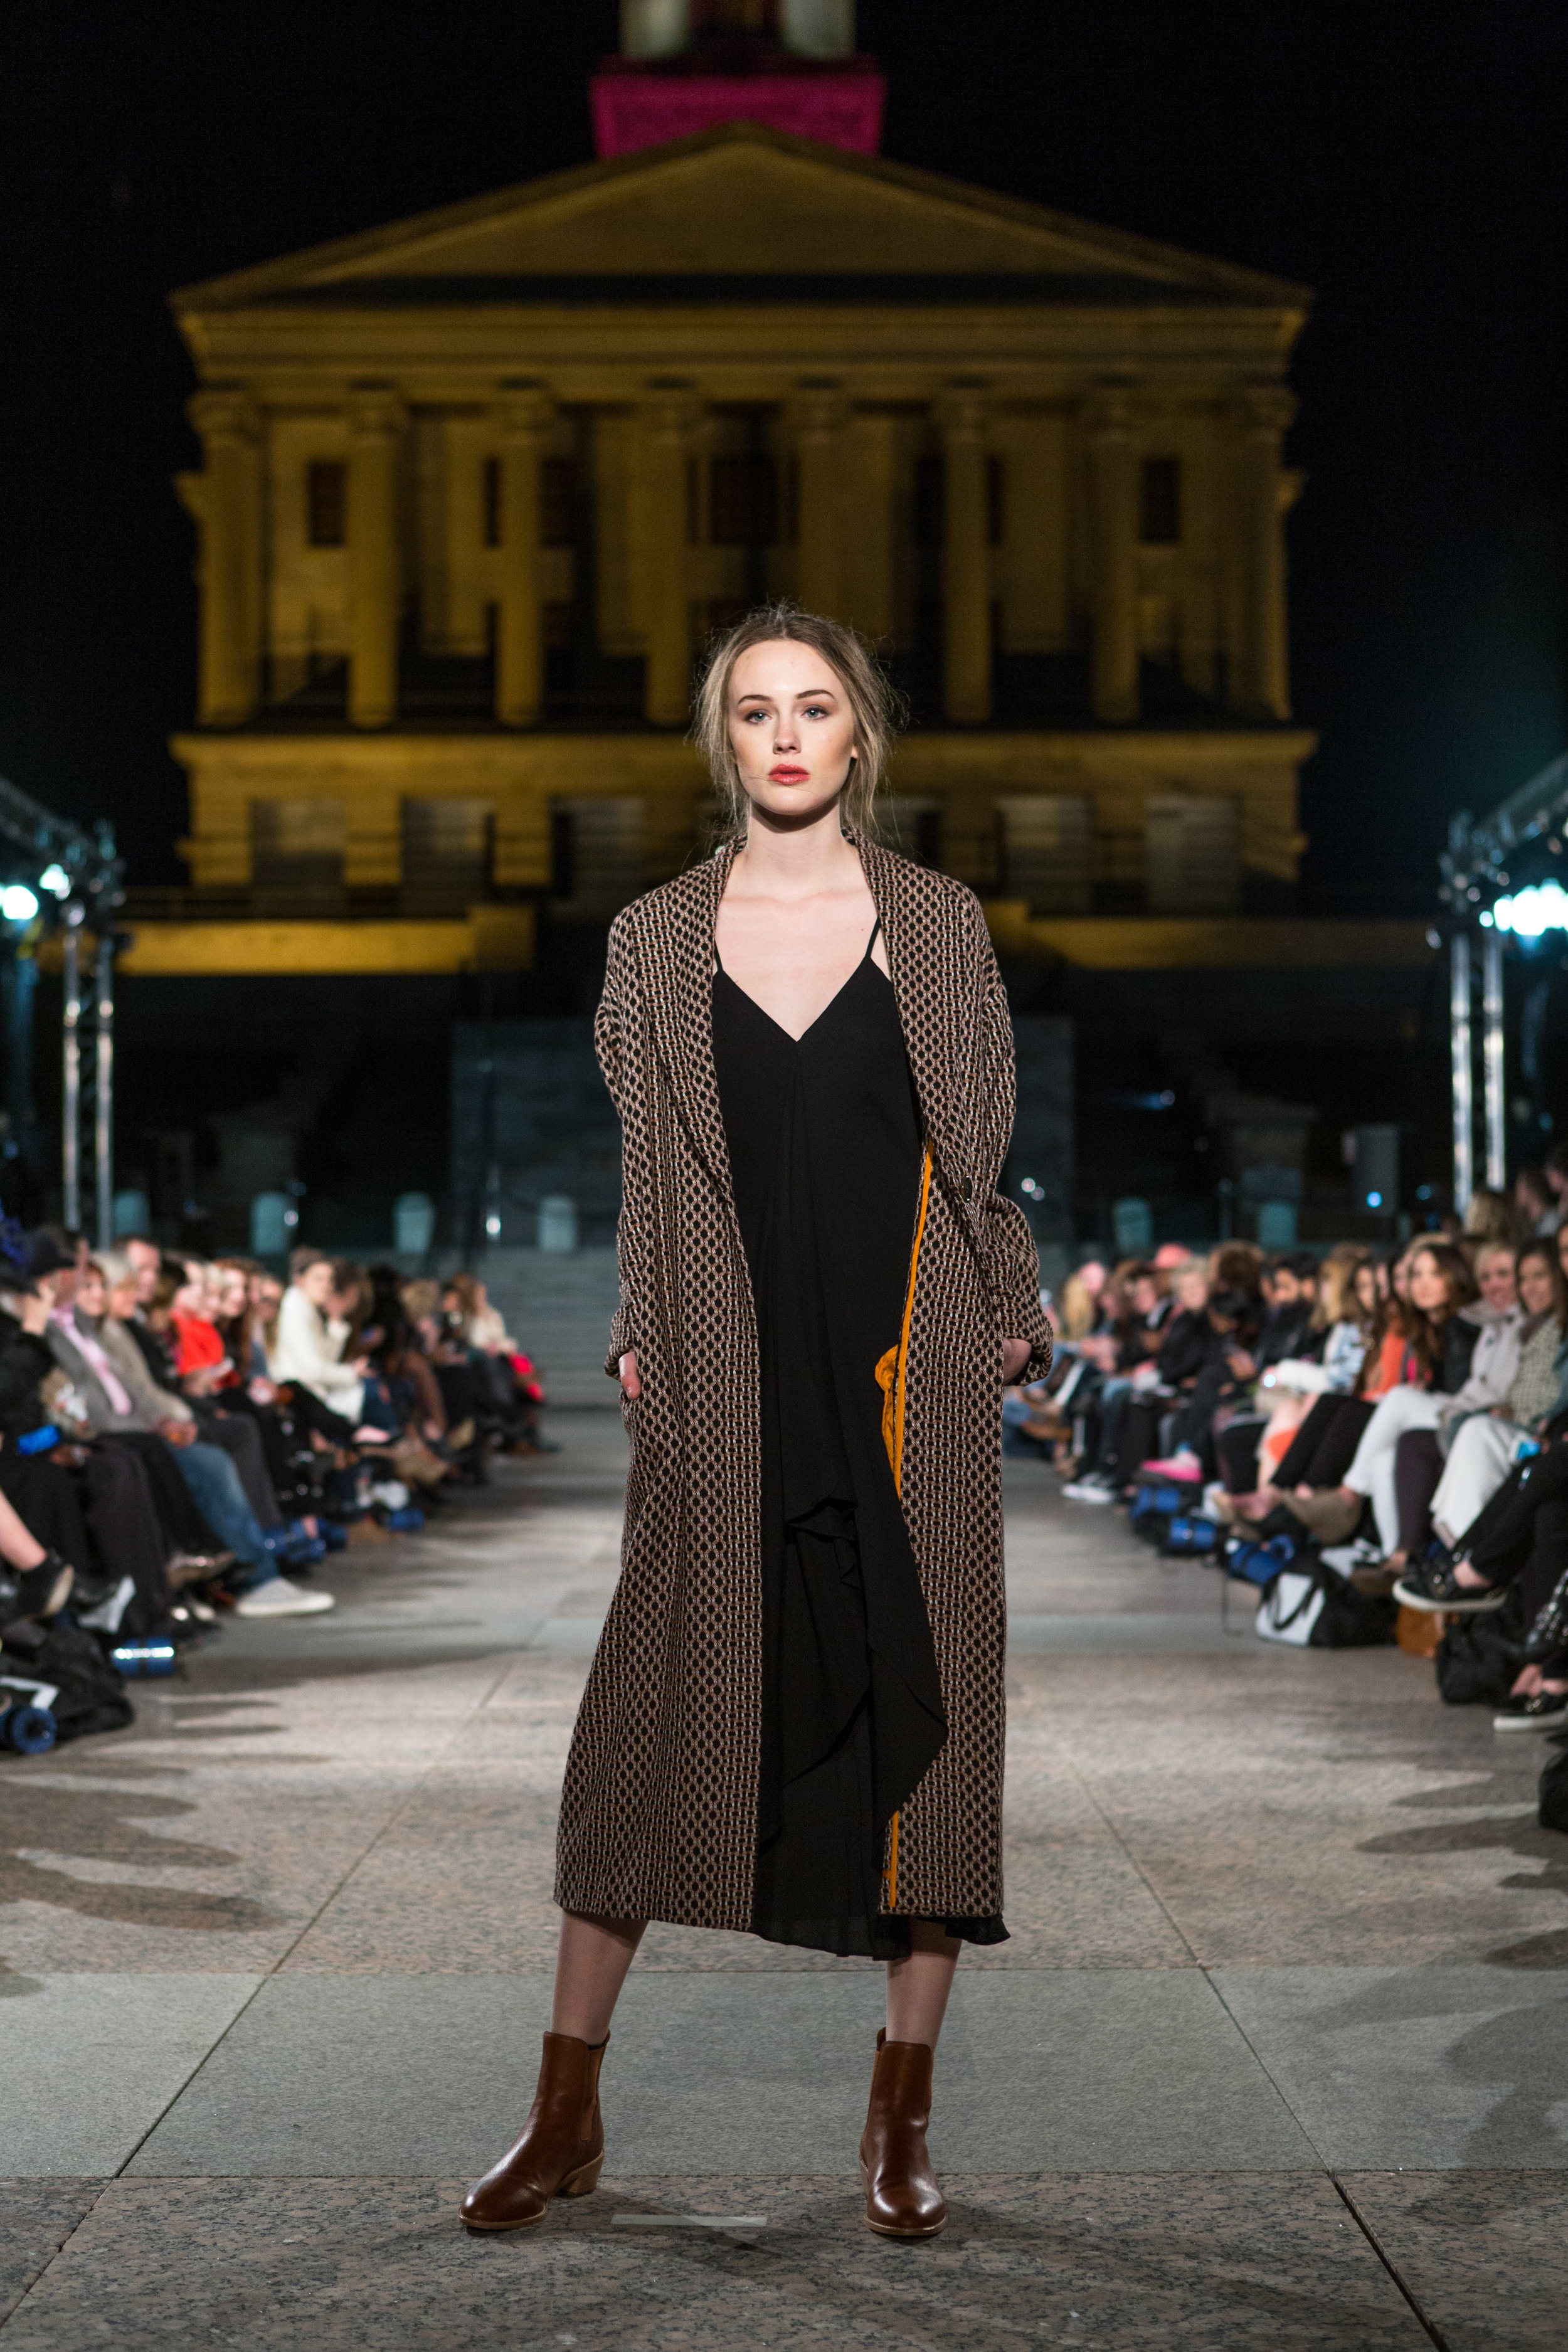
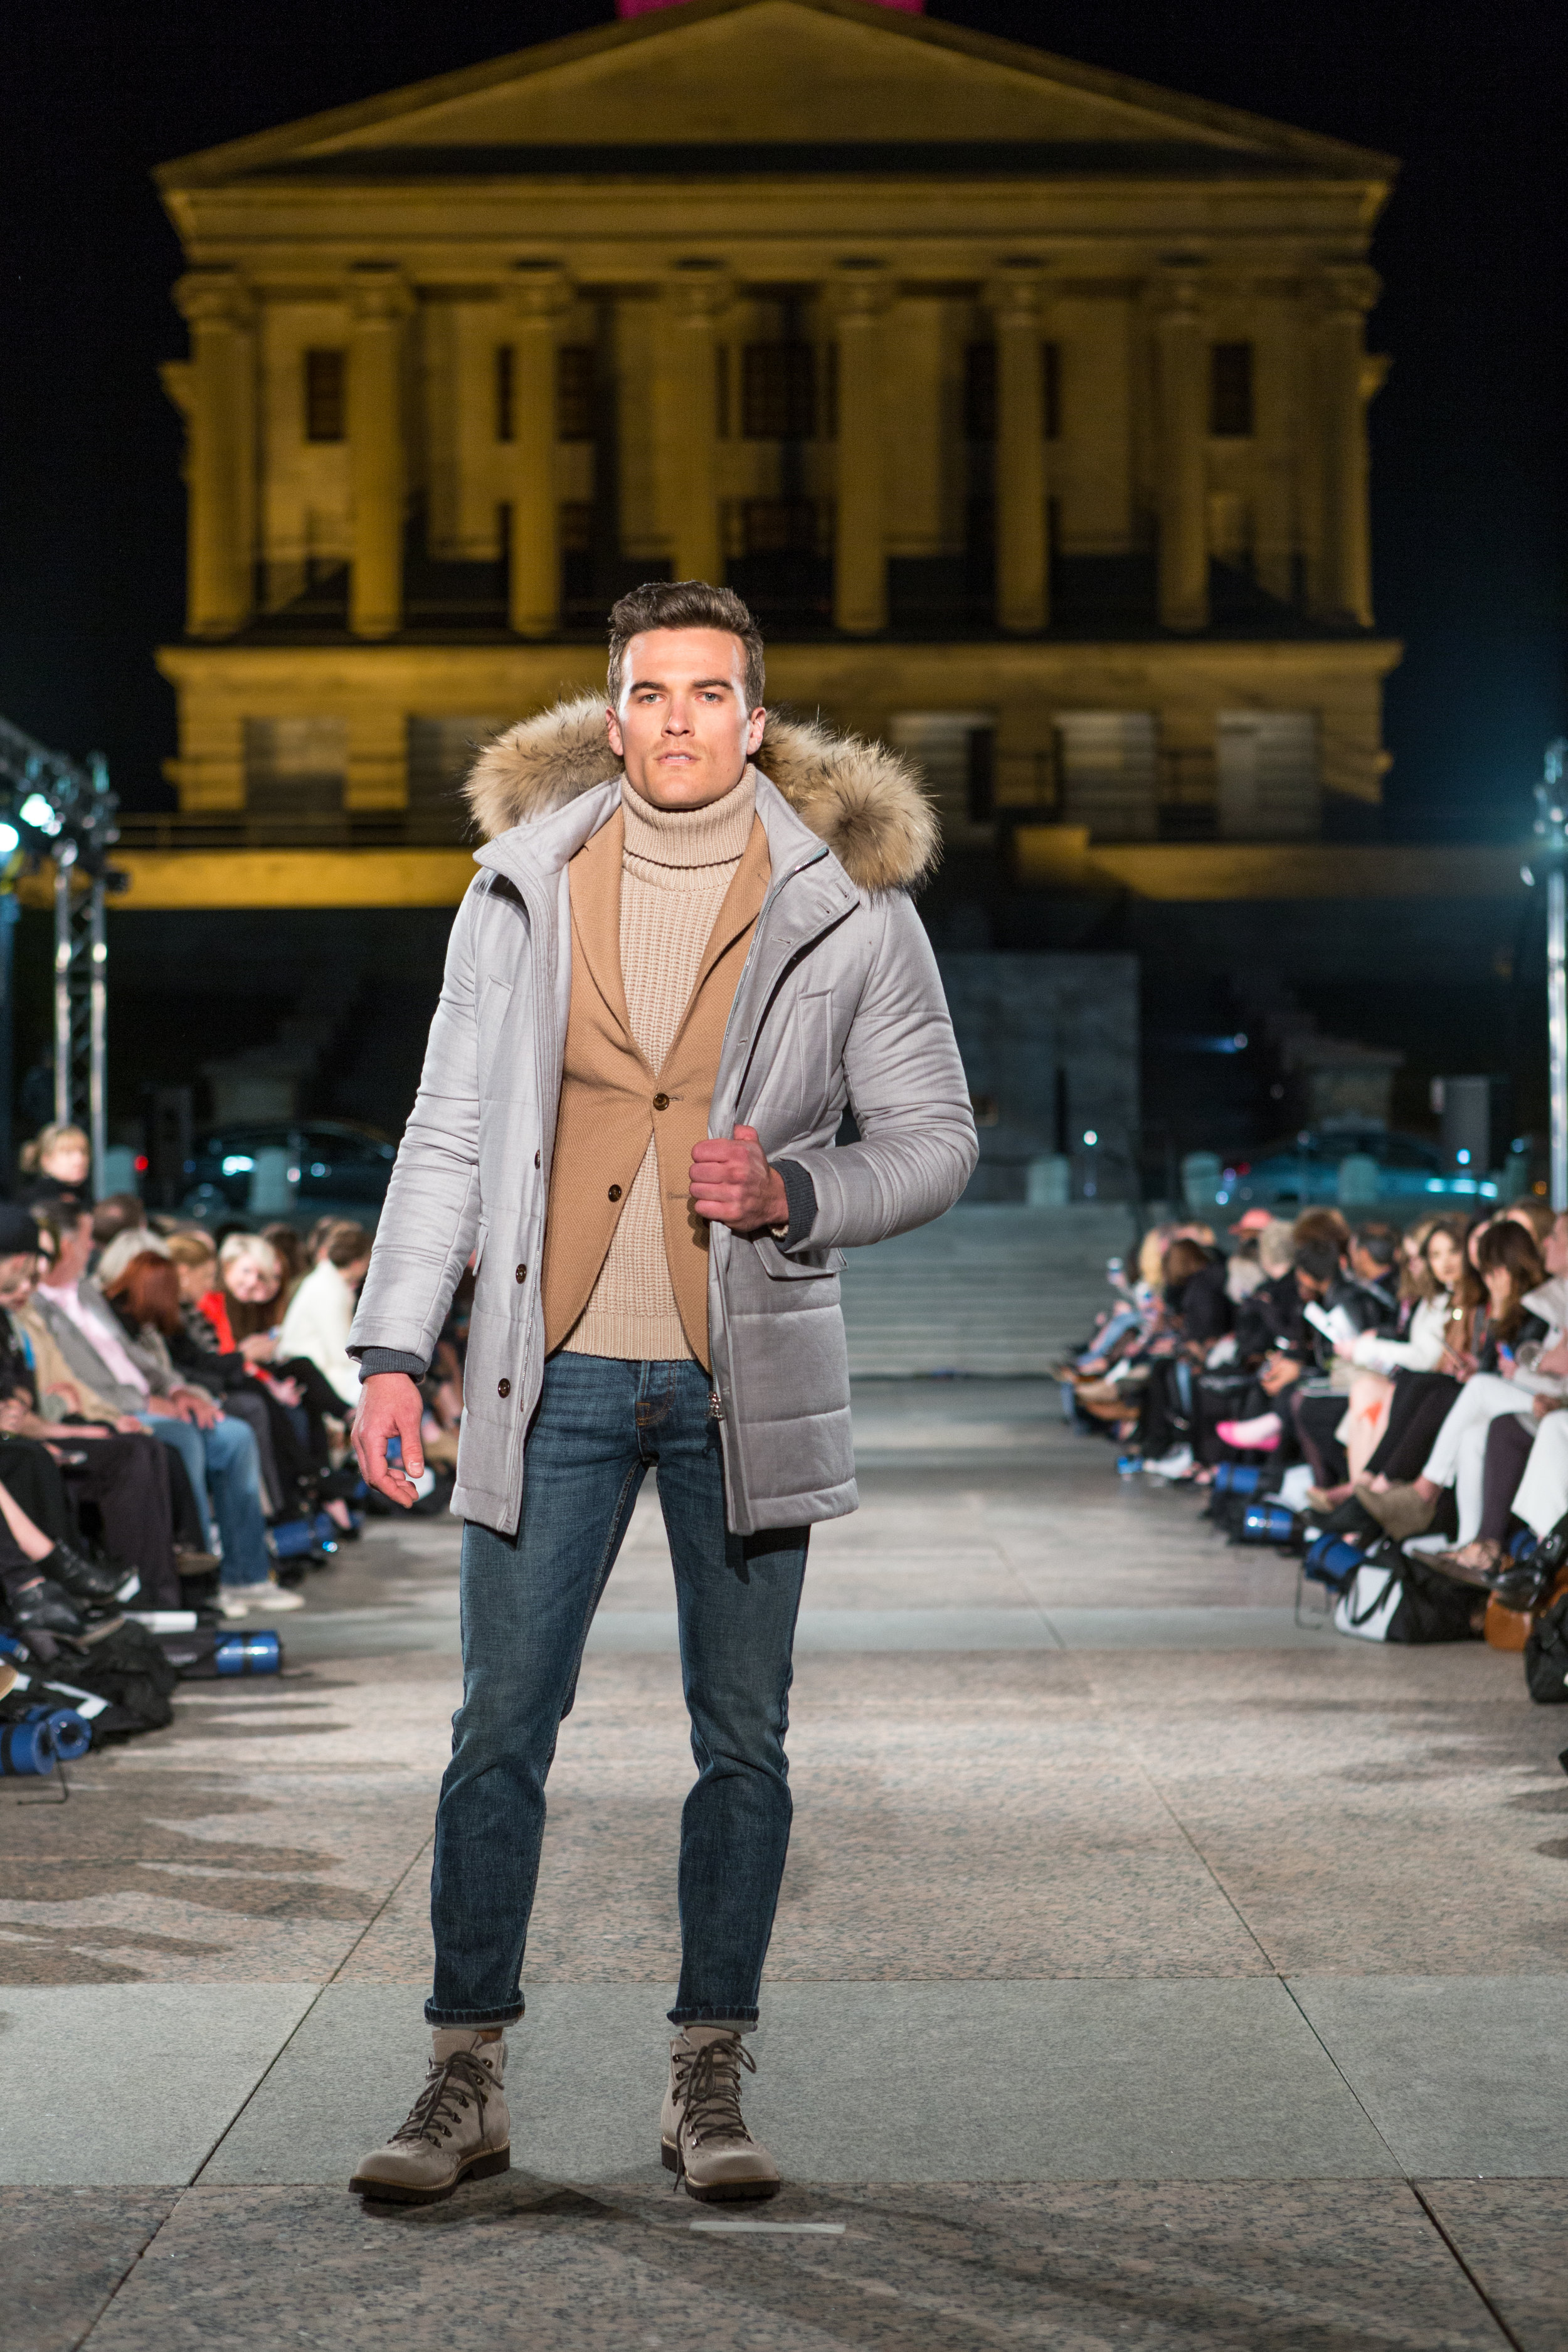
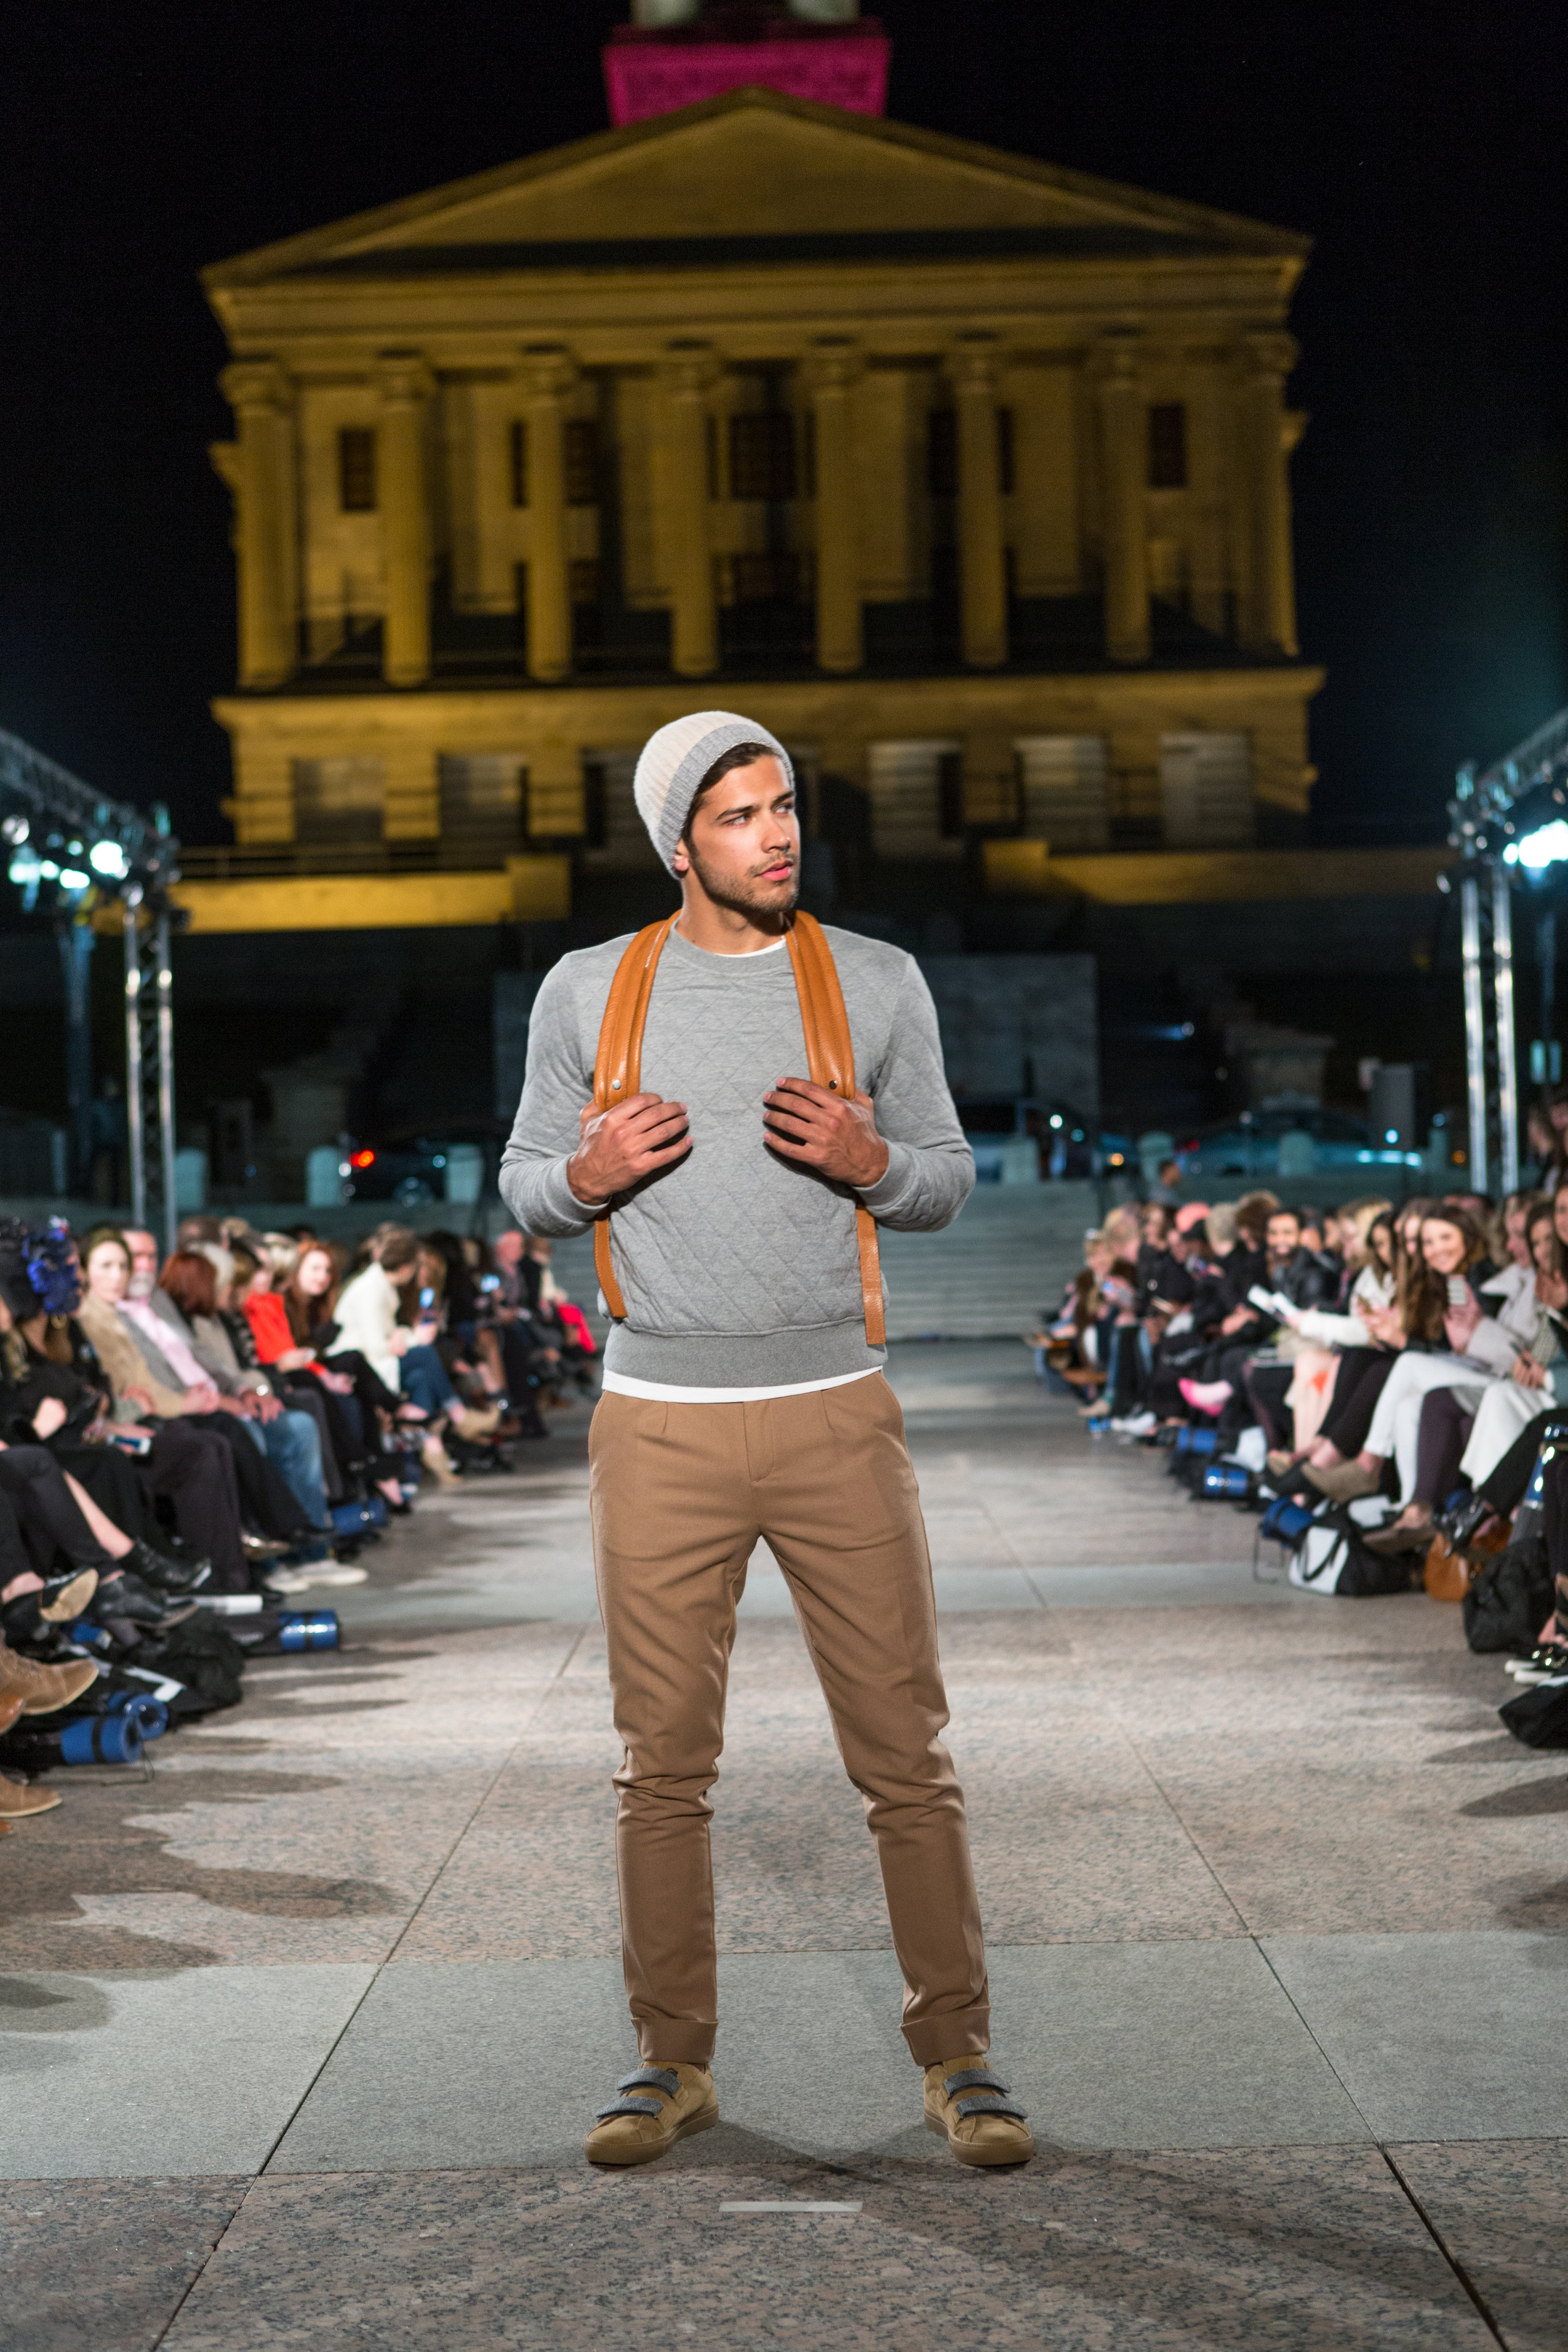
ELEVENTY
View fullsize
View fullsize
View fullsize
View fullsize
View fullsize
View fullsize
View fullsize
View fullsize
View fullsize
View fullsize
View fullsize
View fullsize
View fullsize
View fullsize
View fullsize
View fullsize
View fullsize
View fullsize
View fullsize
View fullsize
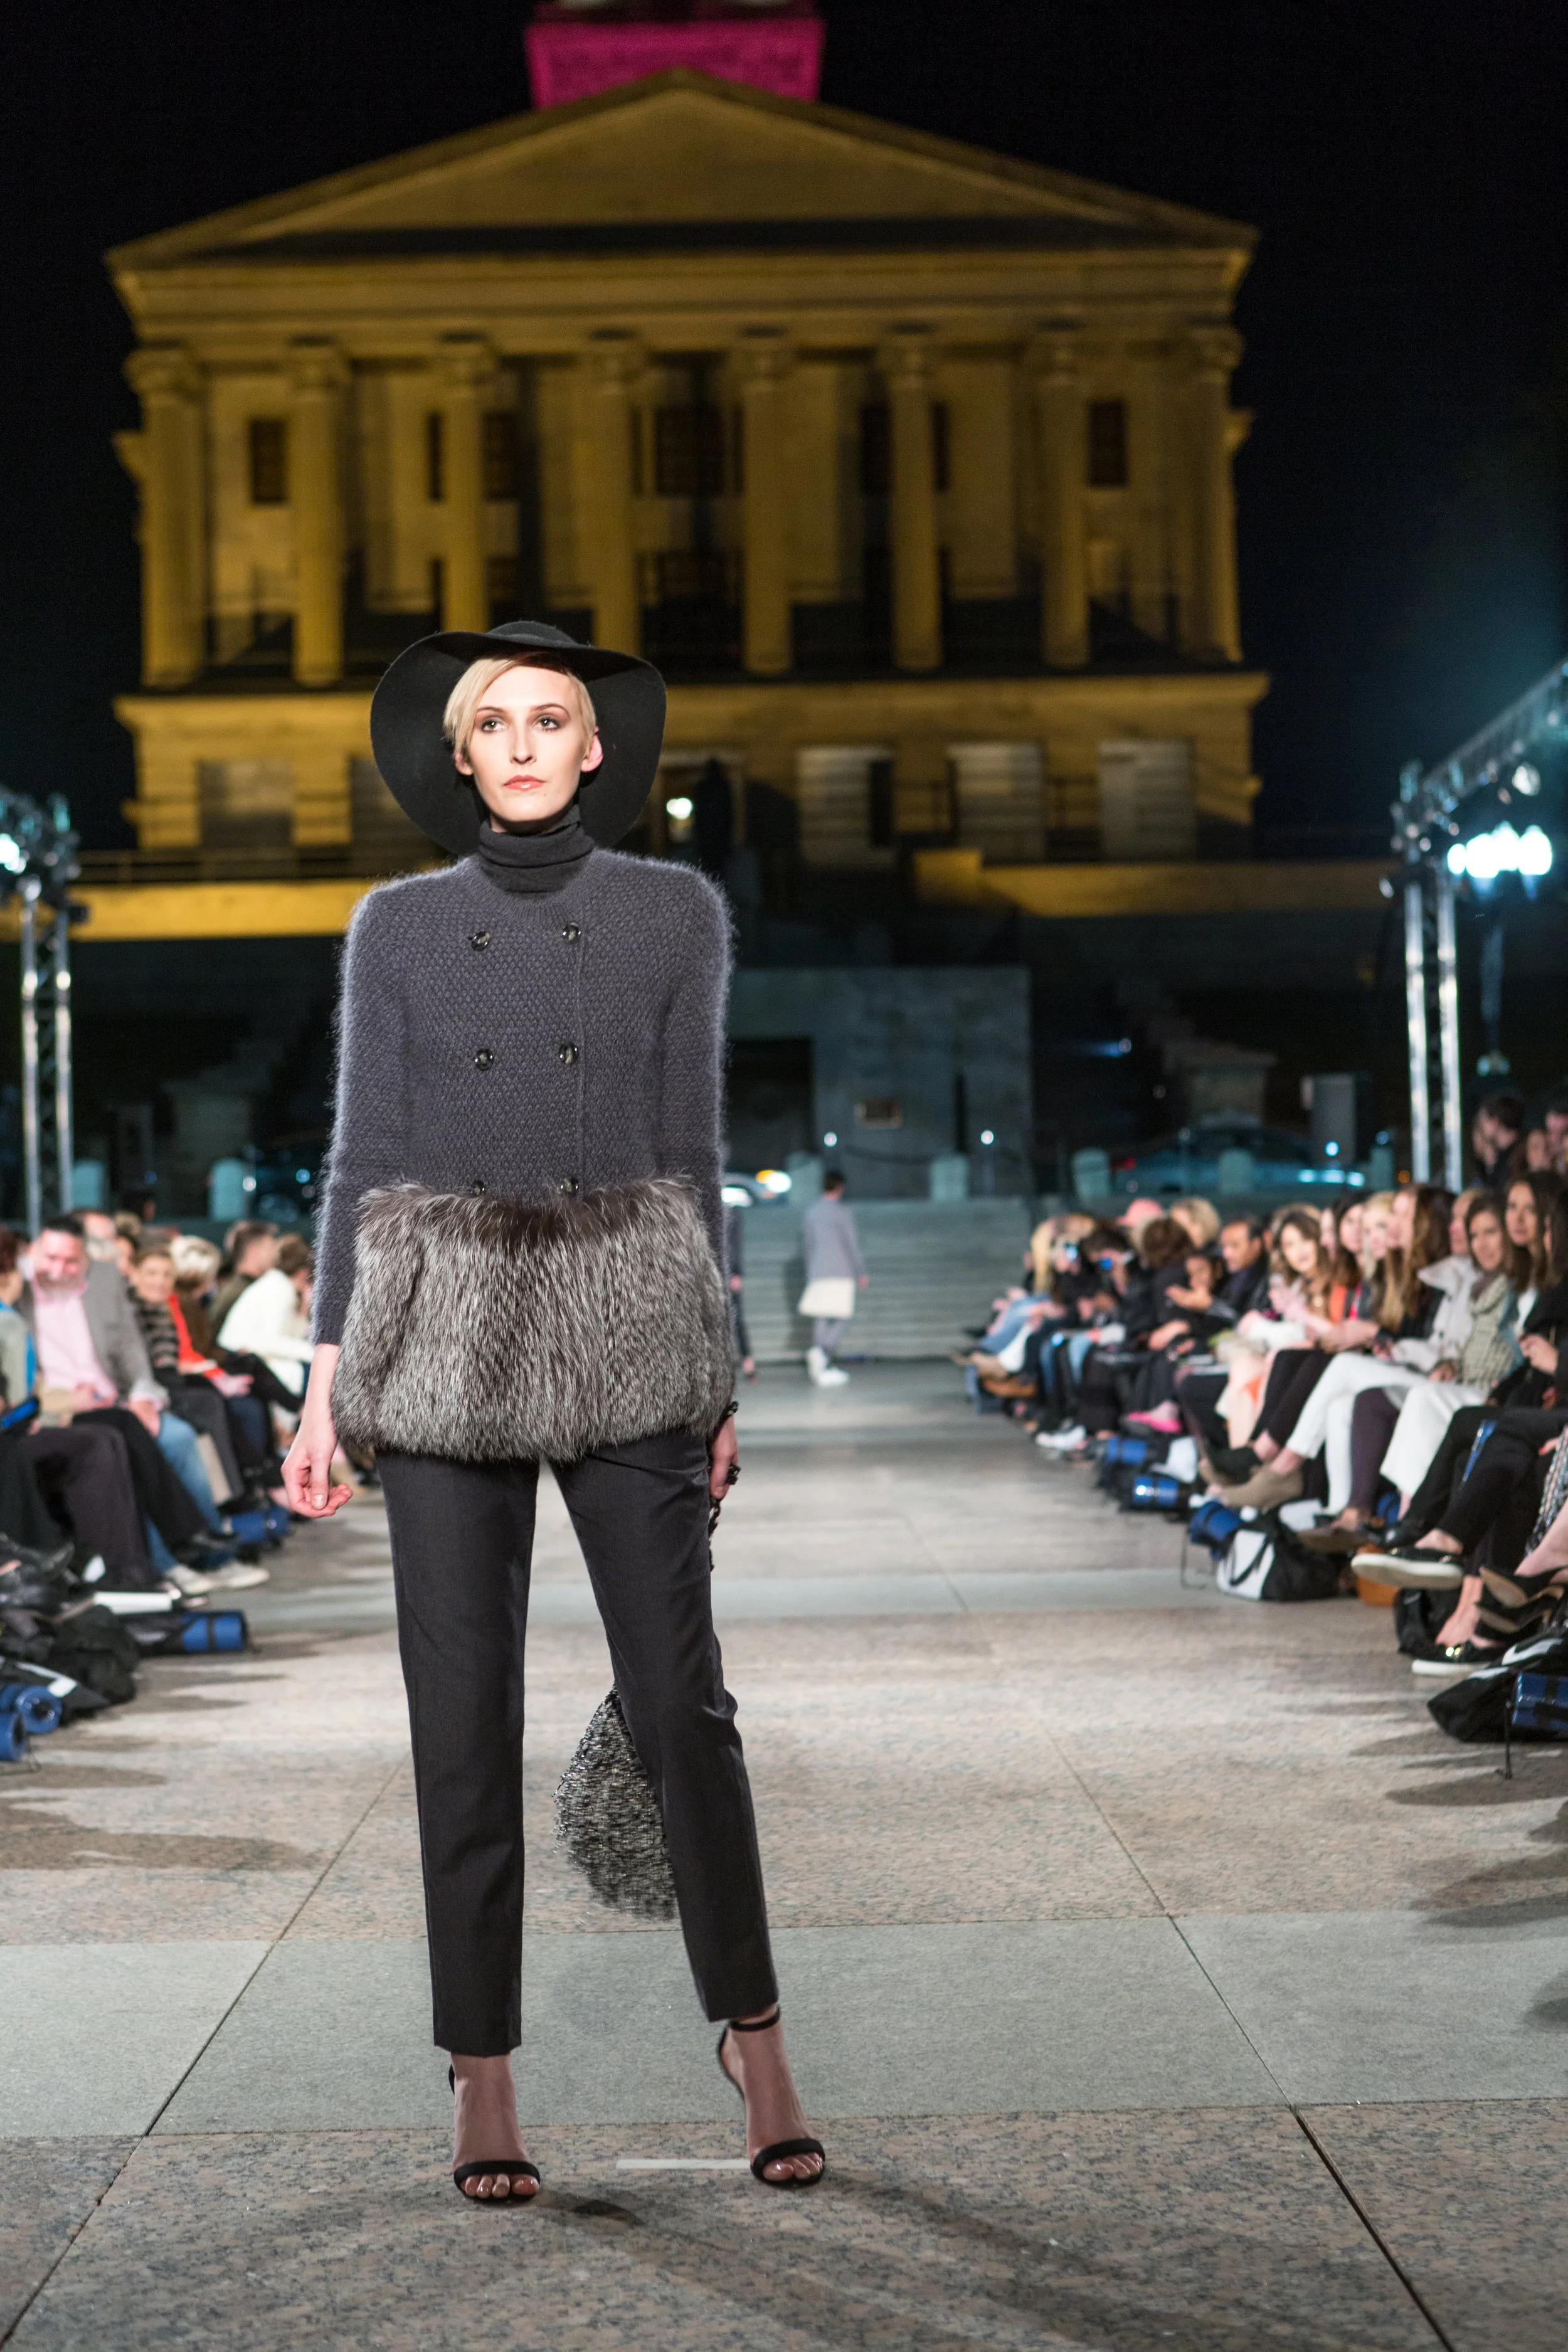
JULIANNA BASS
View fullsize
View fullsize
View fullsize
View fullsize
View fullsize
View fullsize
View fullsize
View fullsize
View fullsize
View fullsize
View fullsize
View fullsize
View fullsize
View fullsize
View fullsize
View fullsize
View fullsize
View fullsize
View fullsize
View fullsize
View fullsize
View fullsize
All photos provided by Ryan Mclemore.